
How I Build This Blog
Welcome to my blog! This is my very first post, and I want to talk about how I set up this blog website, so that it can be a reference for those who want to build their own blog website. Without further due, let’s get started!
Development Environment Setup
IDE
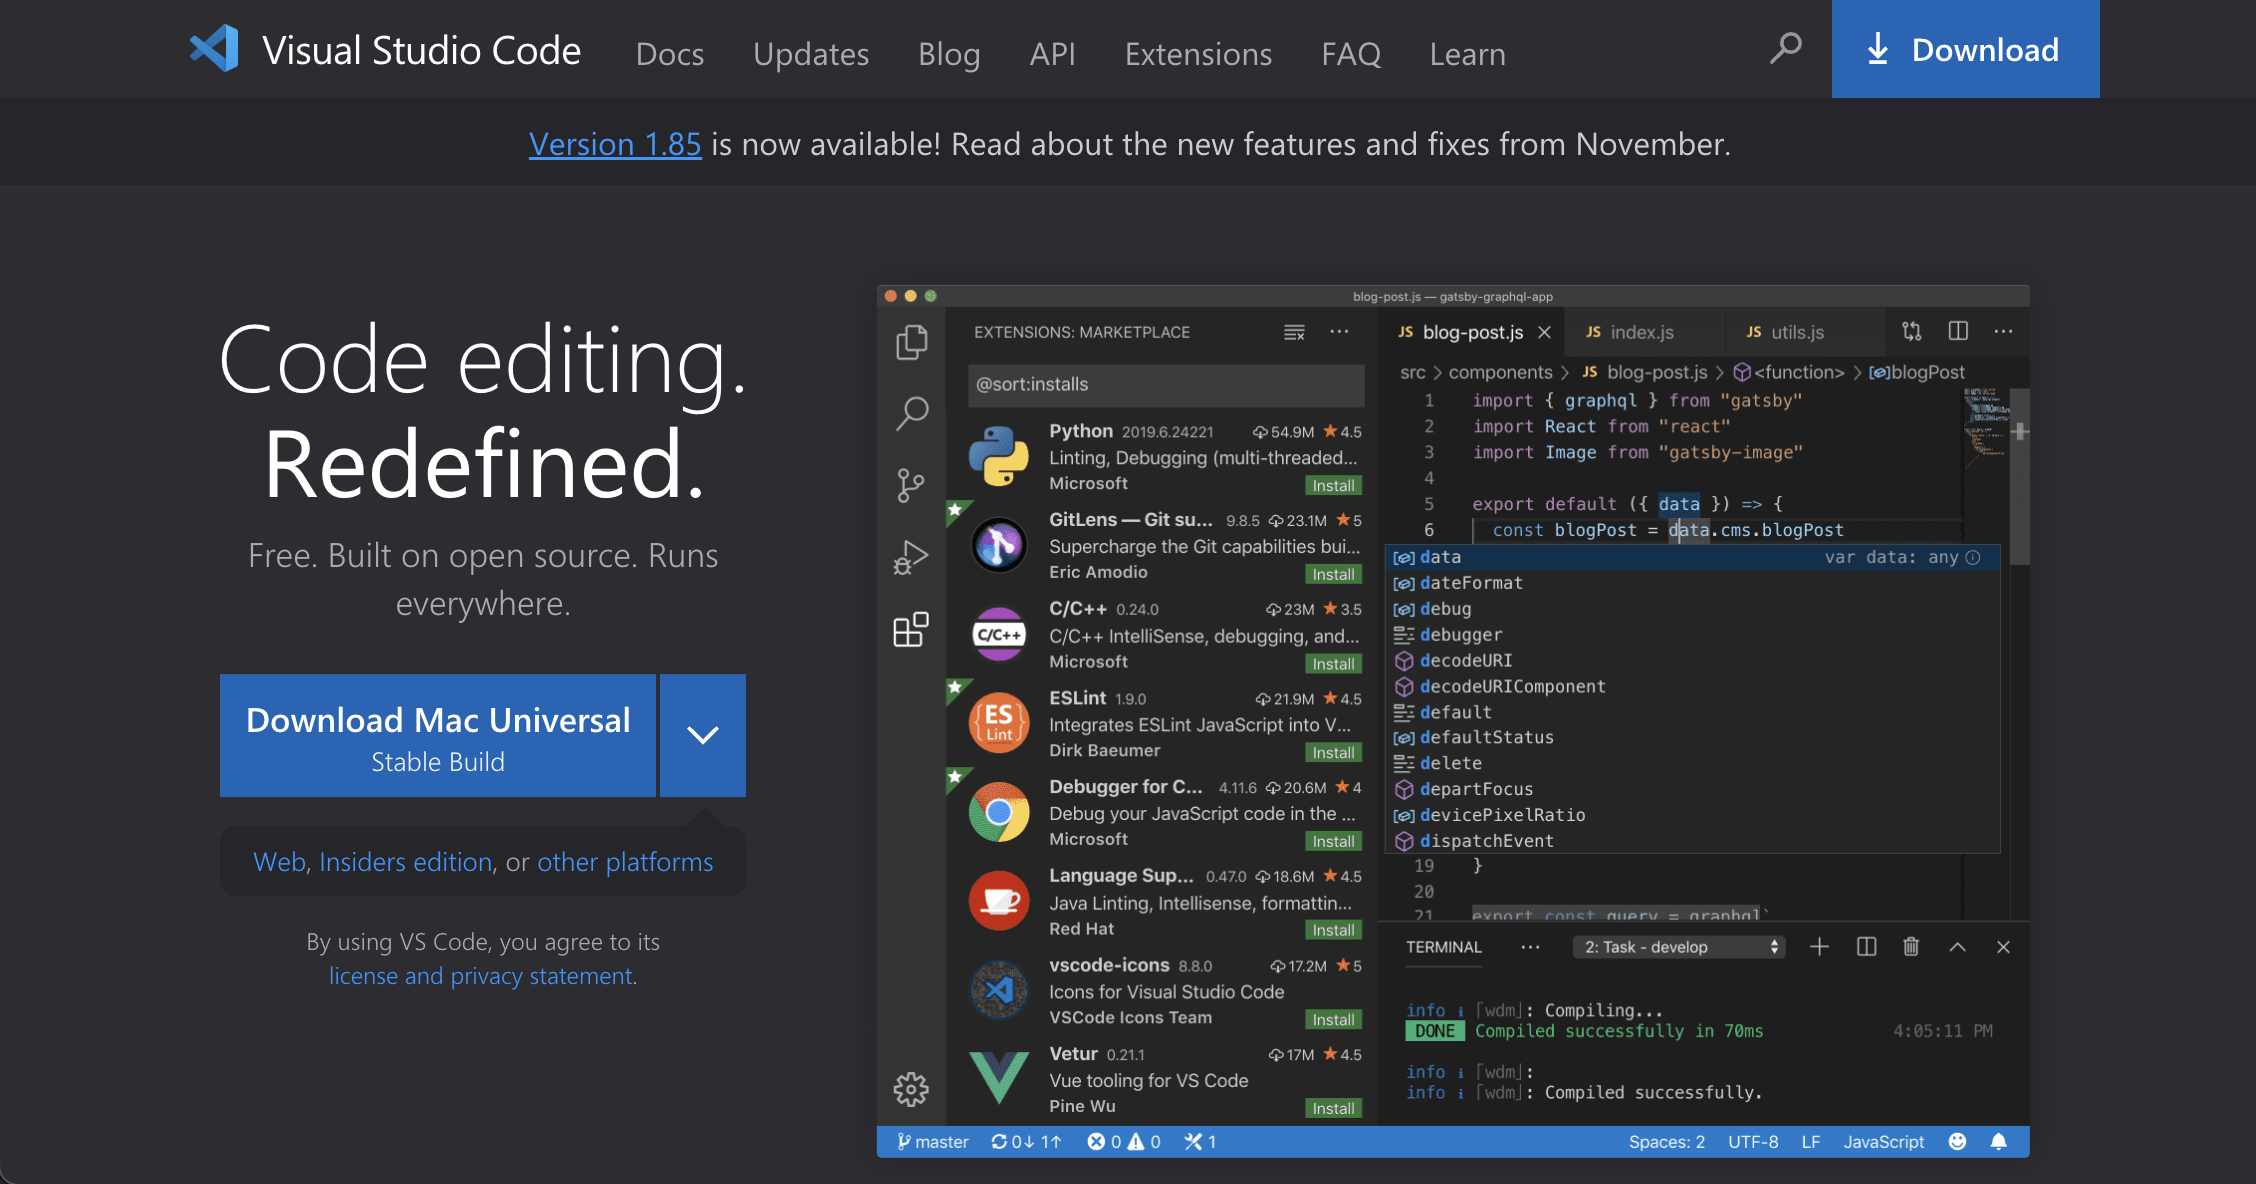
If you are new to software programming, I recommand you to download VSCode (Visual Studio Code), which is a light weight IDE that supports various languages. After heading into the website, click Download Mac Universal (If your operating system is Windows, then click Download for free) to install VSCode on your local machine
Node JS
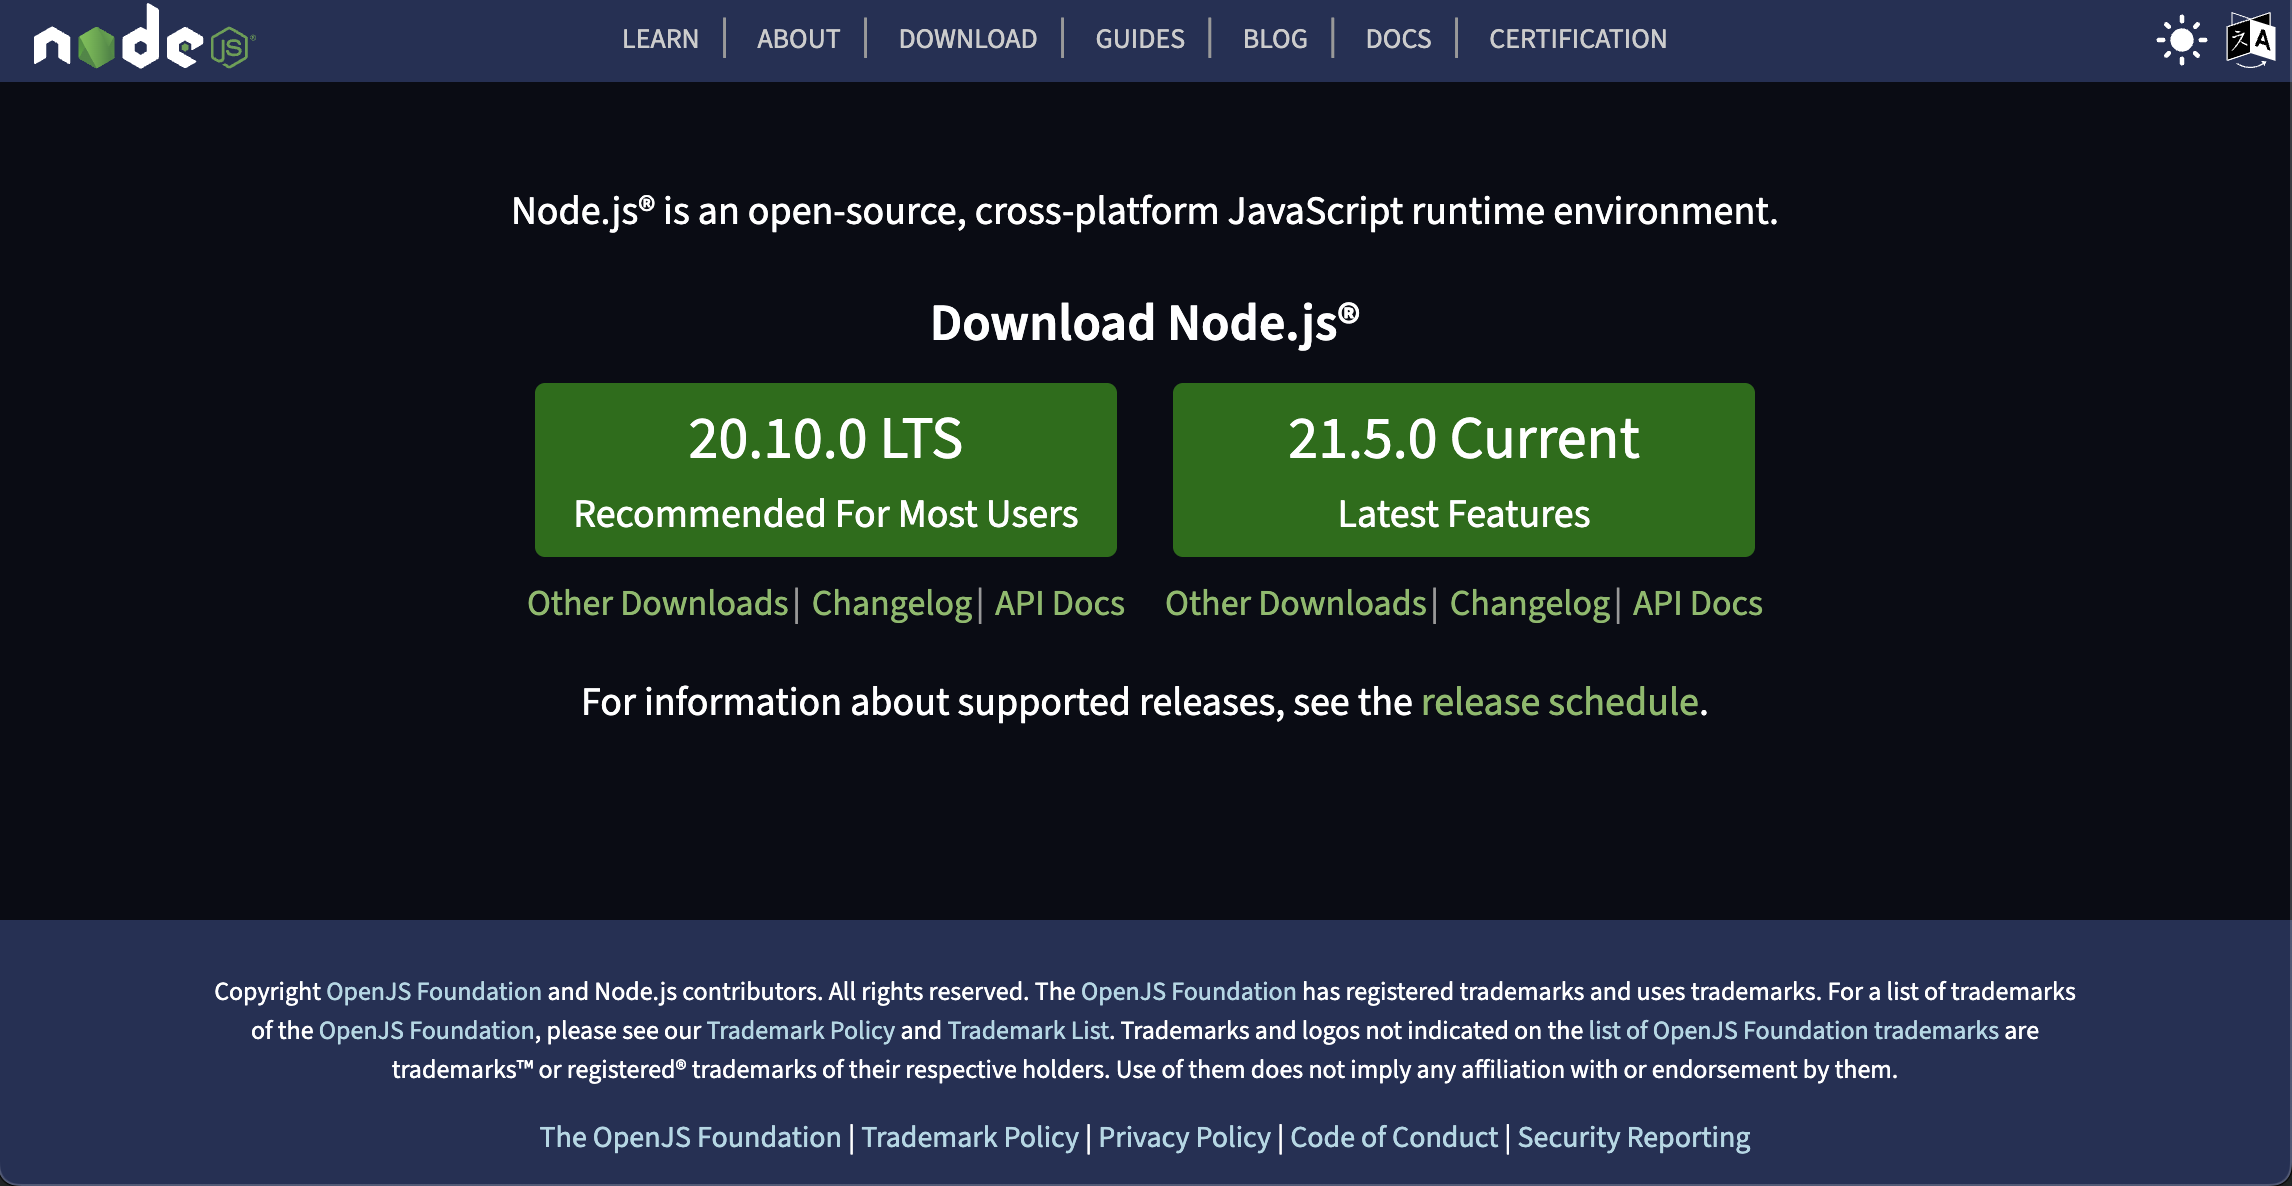
In order to use the blog framework Hexo, you need to download Node JS, an open source server environment based on Javascript. Go to the official website of node.js and then click the LTS version. The current version should also work.
Hexo
After installing the IDE and Node JS, you are now ready to install Hexo, the framework that designed for blog websites. Open your terminal and then run this command
1 | $ npm install -g hexo-cli |
Setup Repo
Use commands to direct to where you want your blog website locate.

In this example, I want to make my blog locate on “/Users/ziheji/Documents/Projects/blogdemo”. Then, run
1 | $ hexo init |
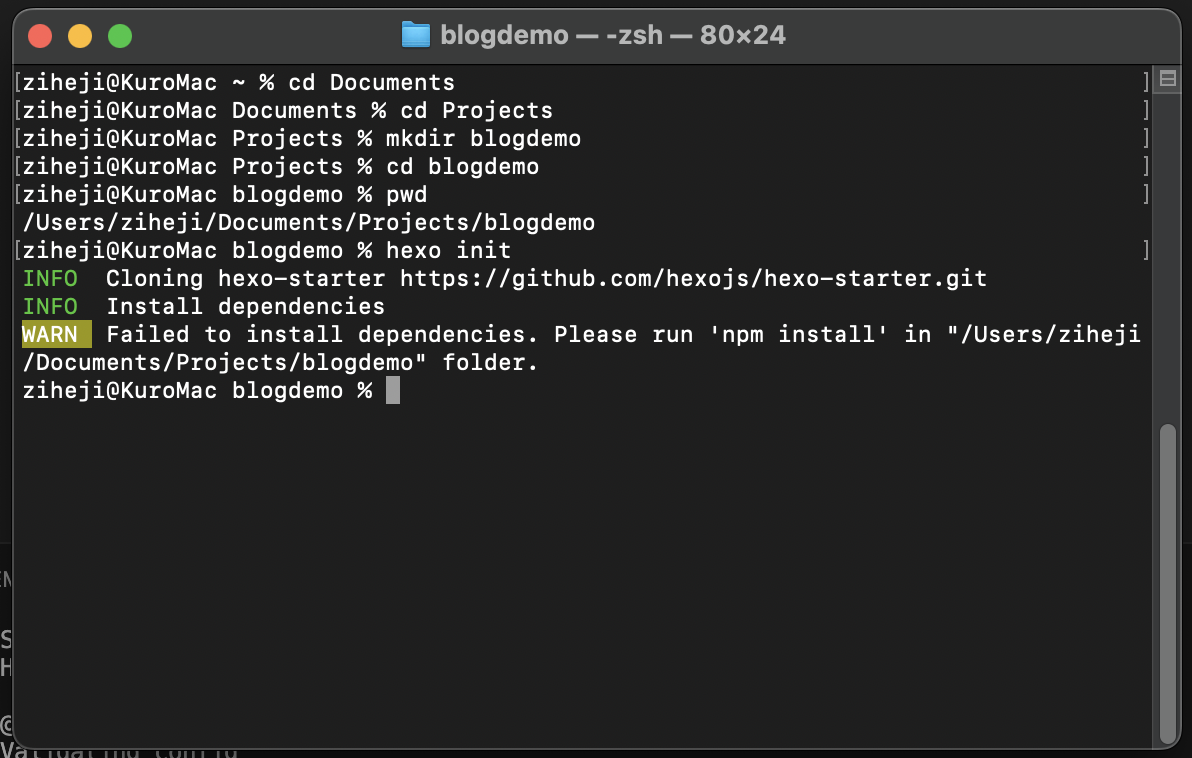
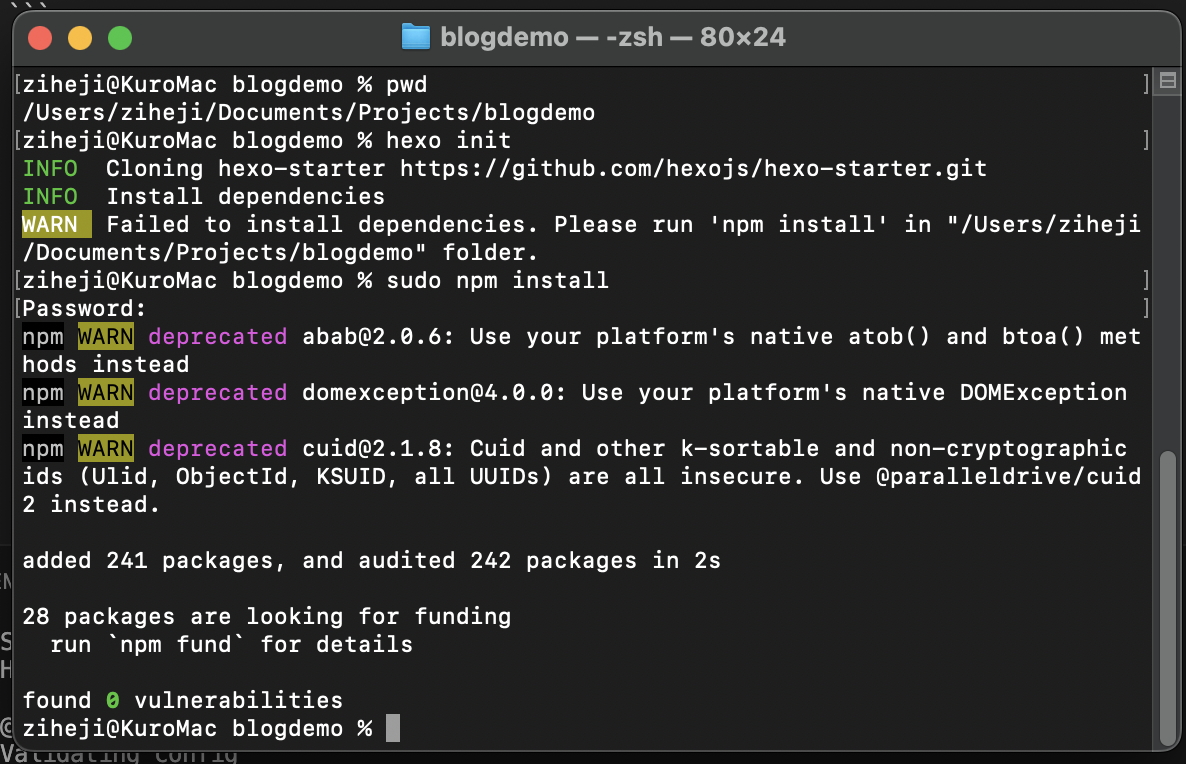
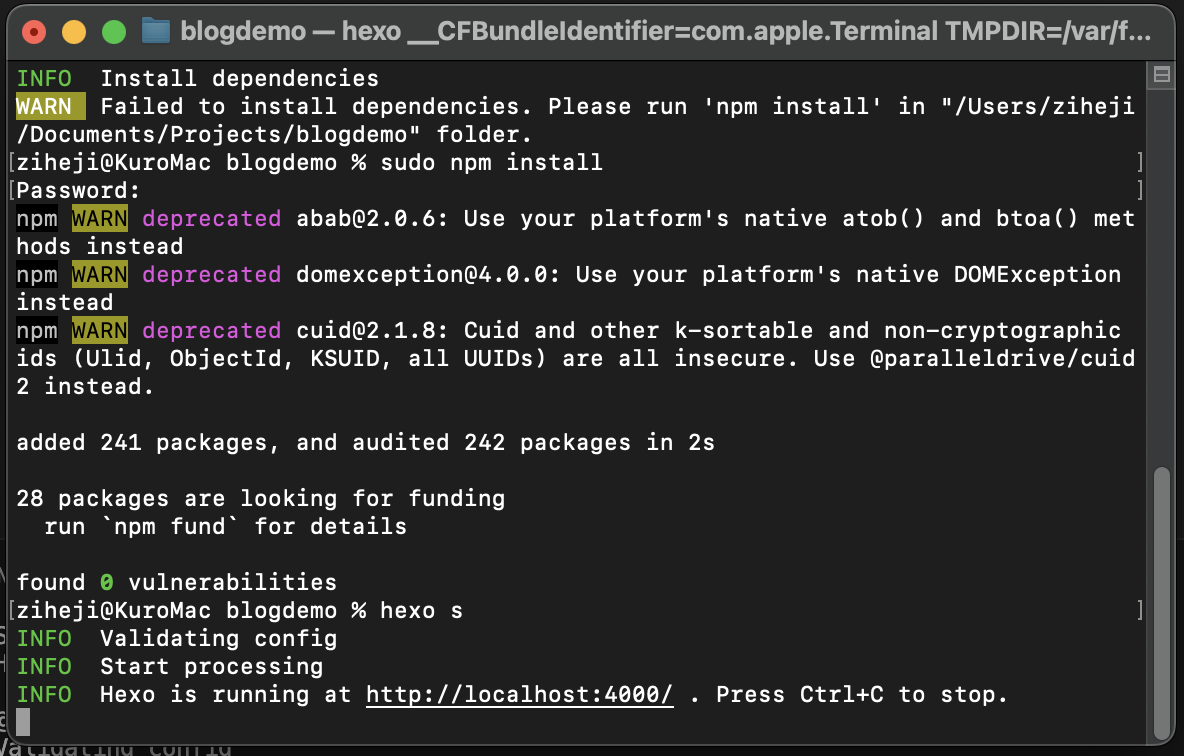
Your terminal may say “Failed to install dependencies.” This is probably because the terminal doesn’t have permission to write in this location. To fix that, run
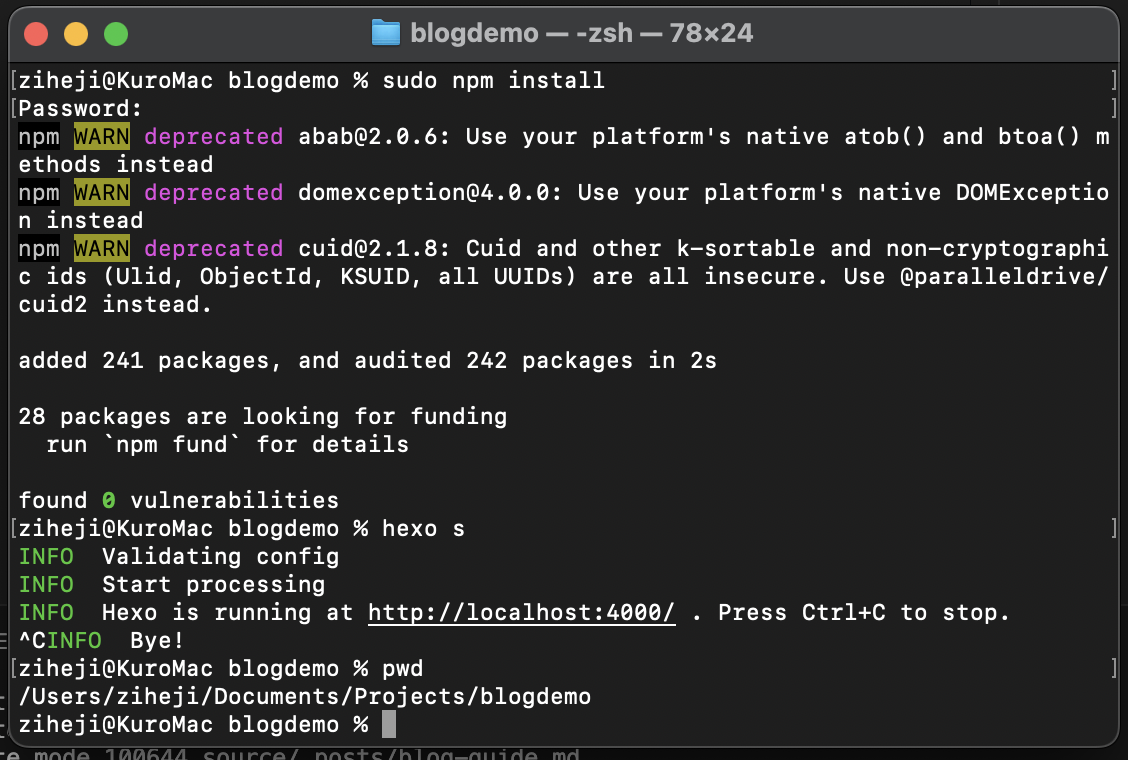
1 | $ sudo npm install |
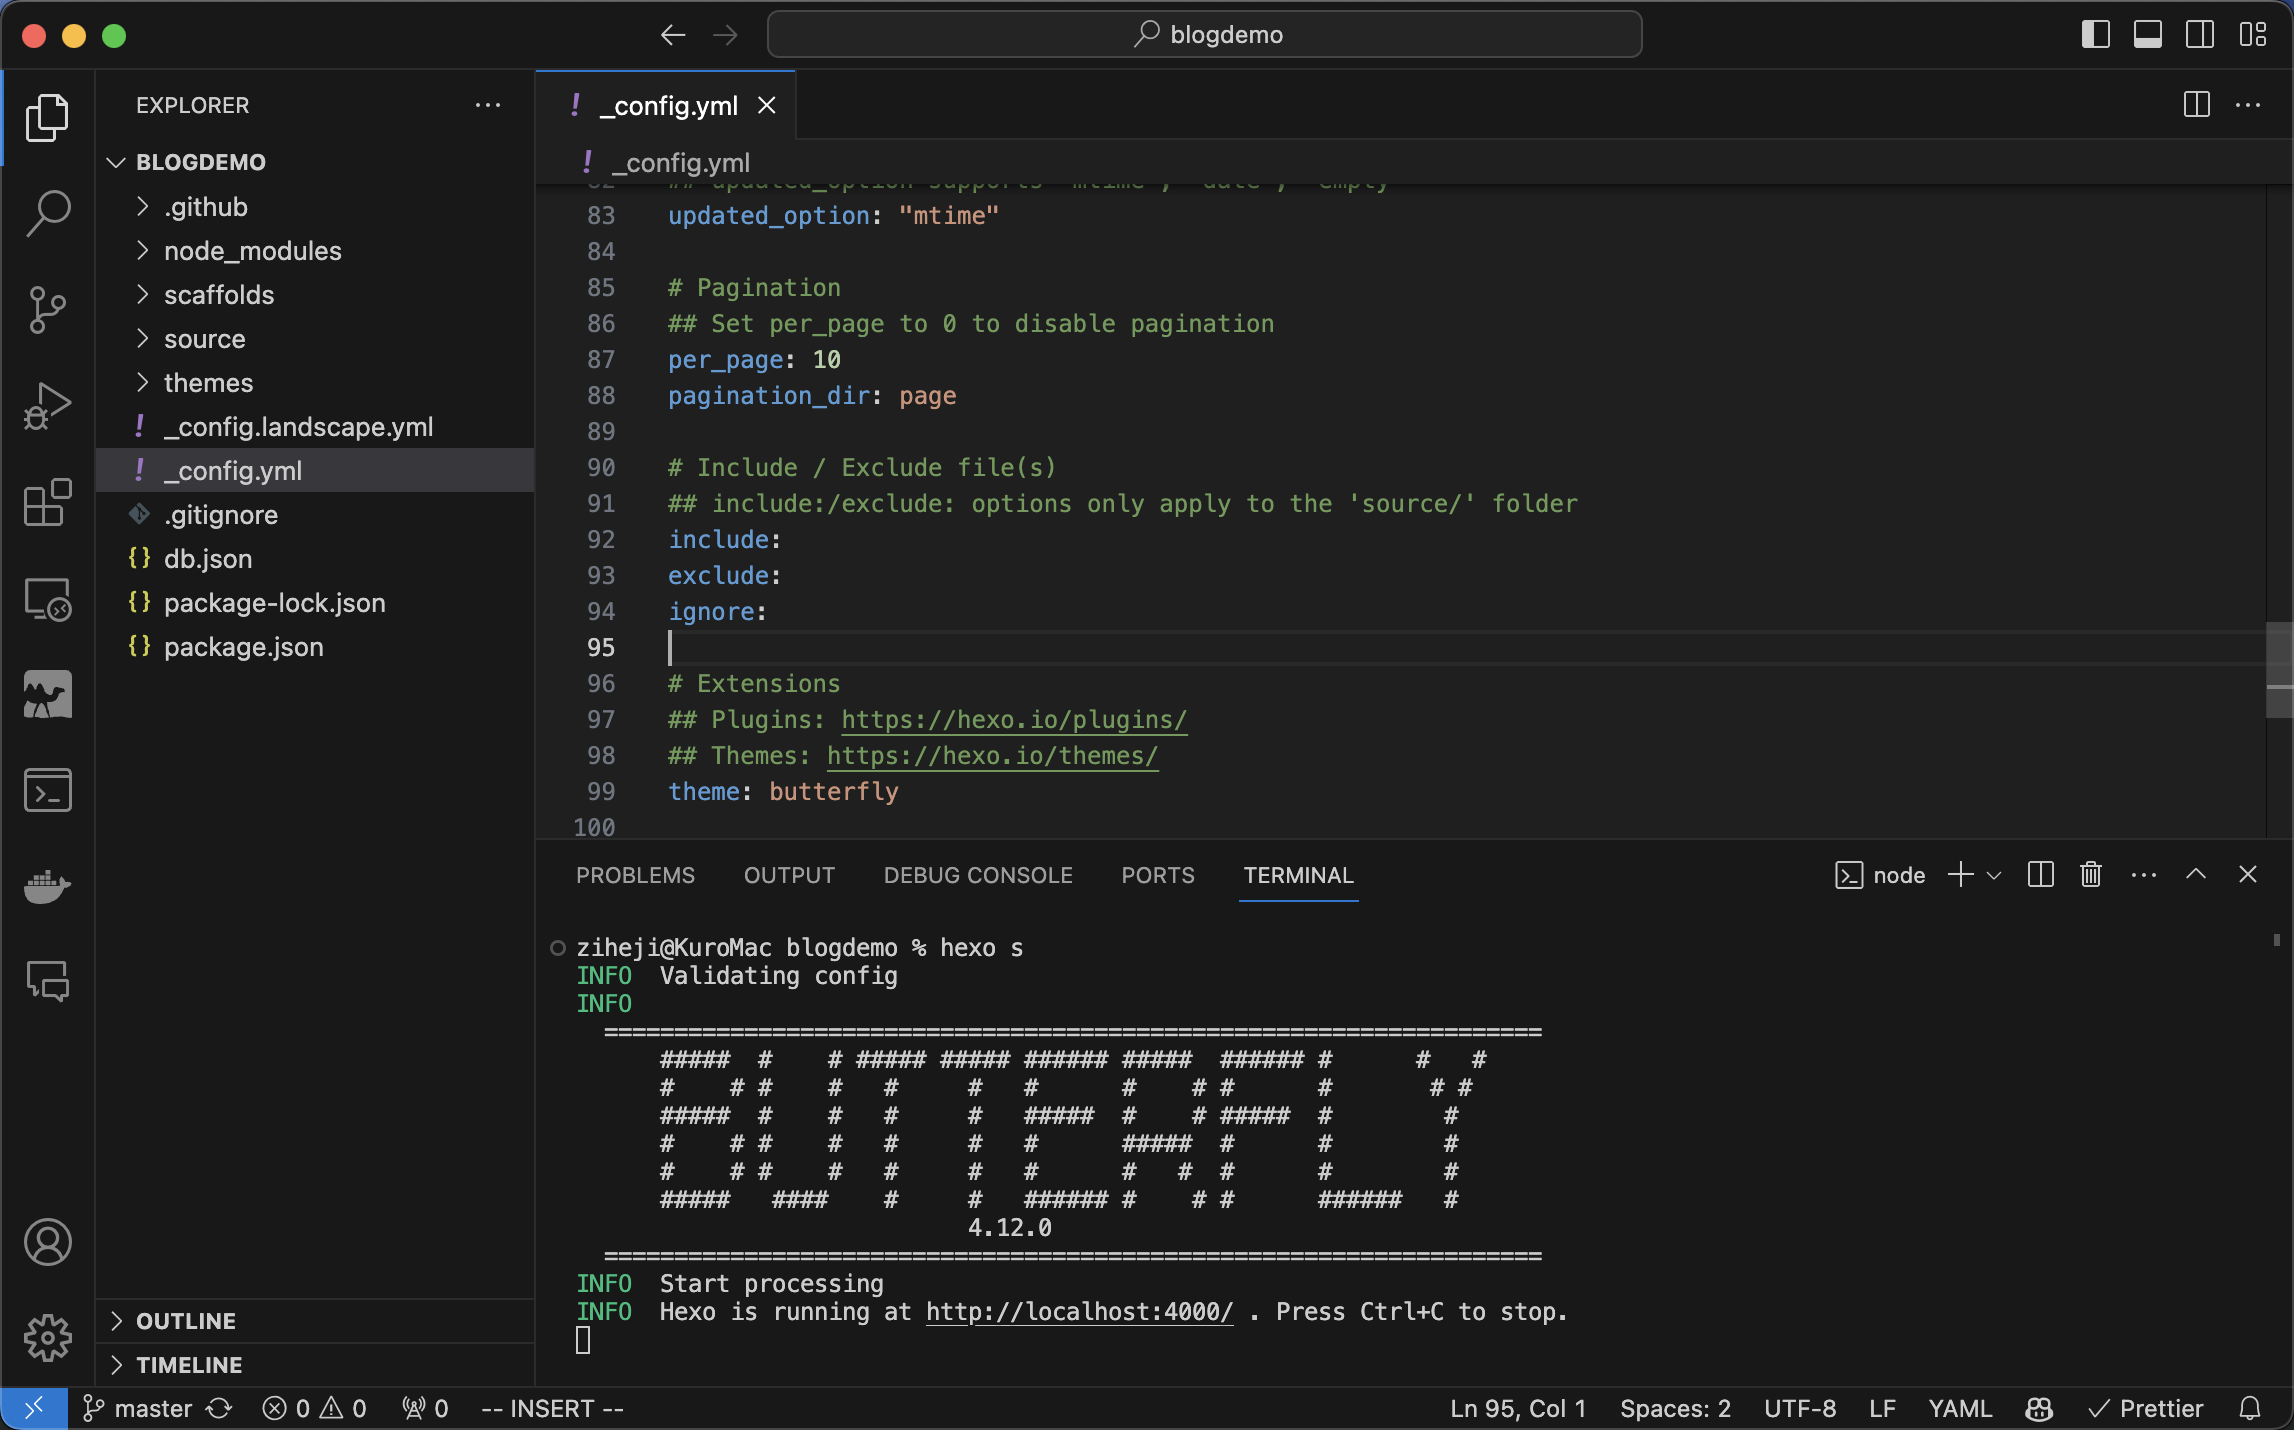
Now the hexo blog setup is done. You can run the following command to have a preview on your local machine
1 | $ hexo s |
This is an abbreviation of ‘hexo server’ that launch the server.
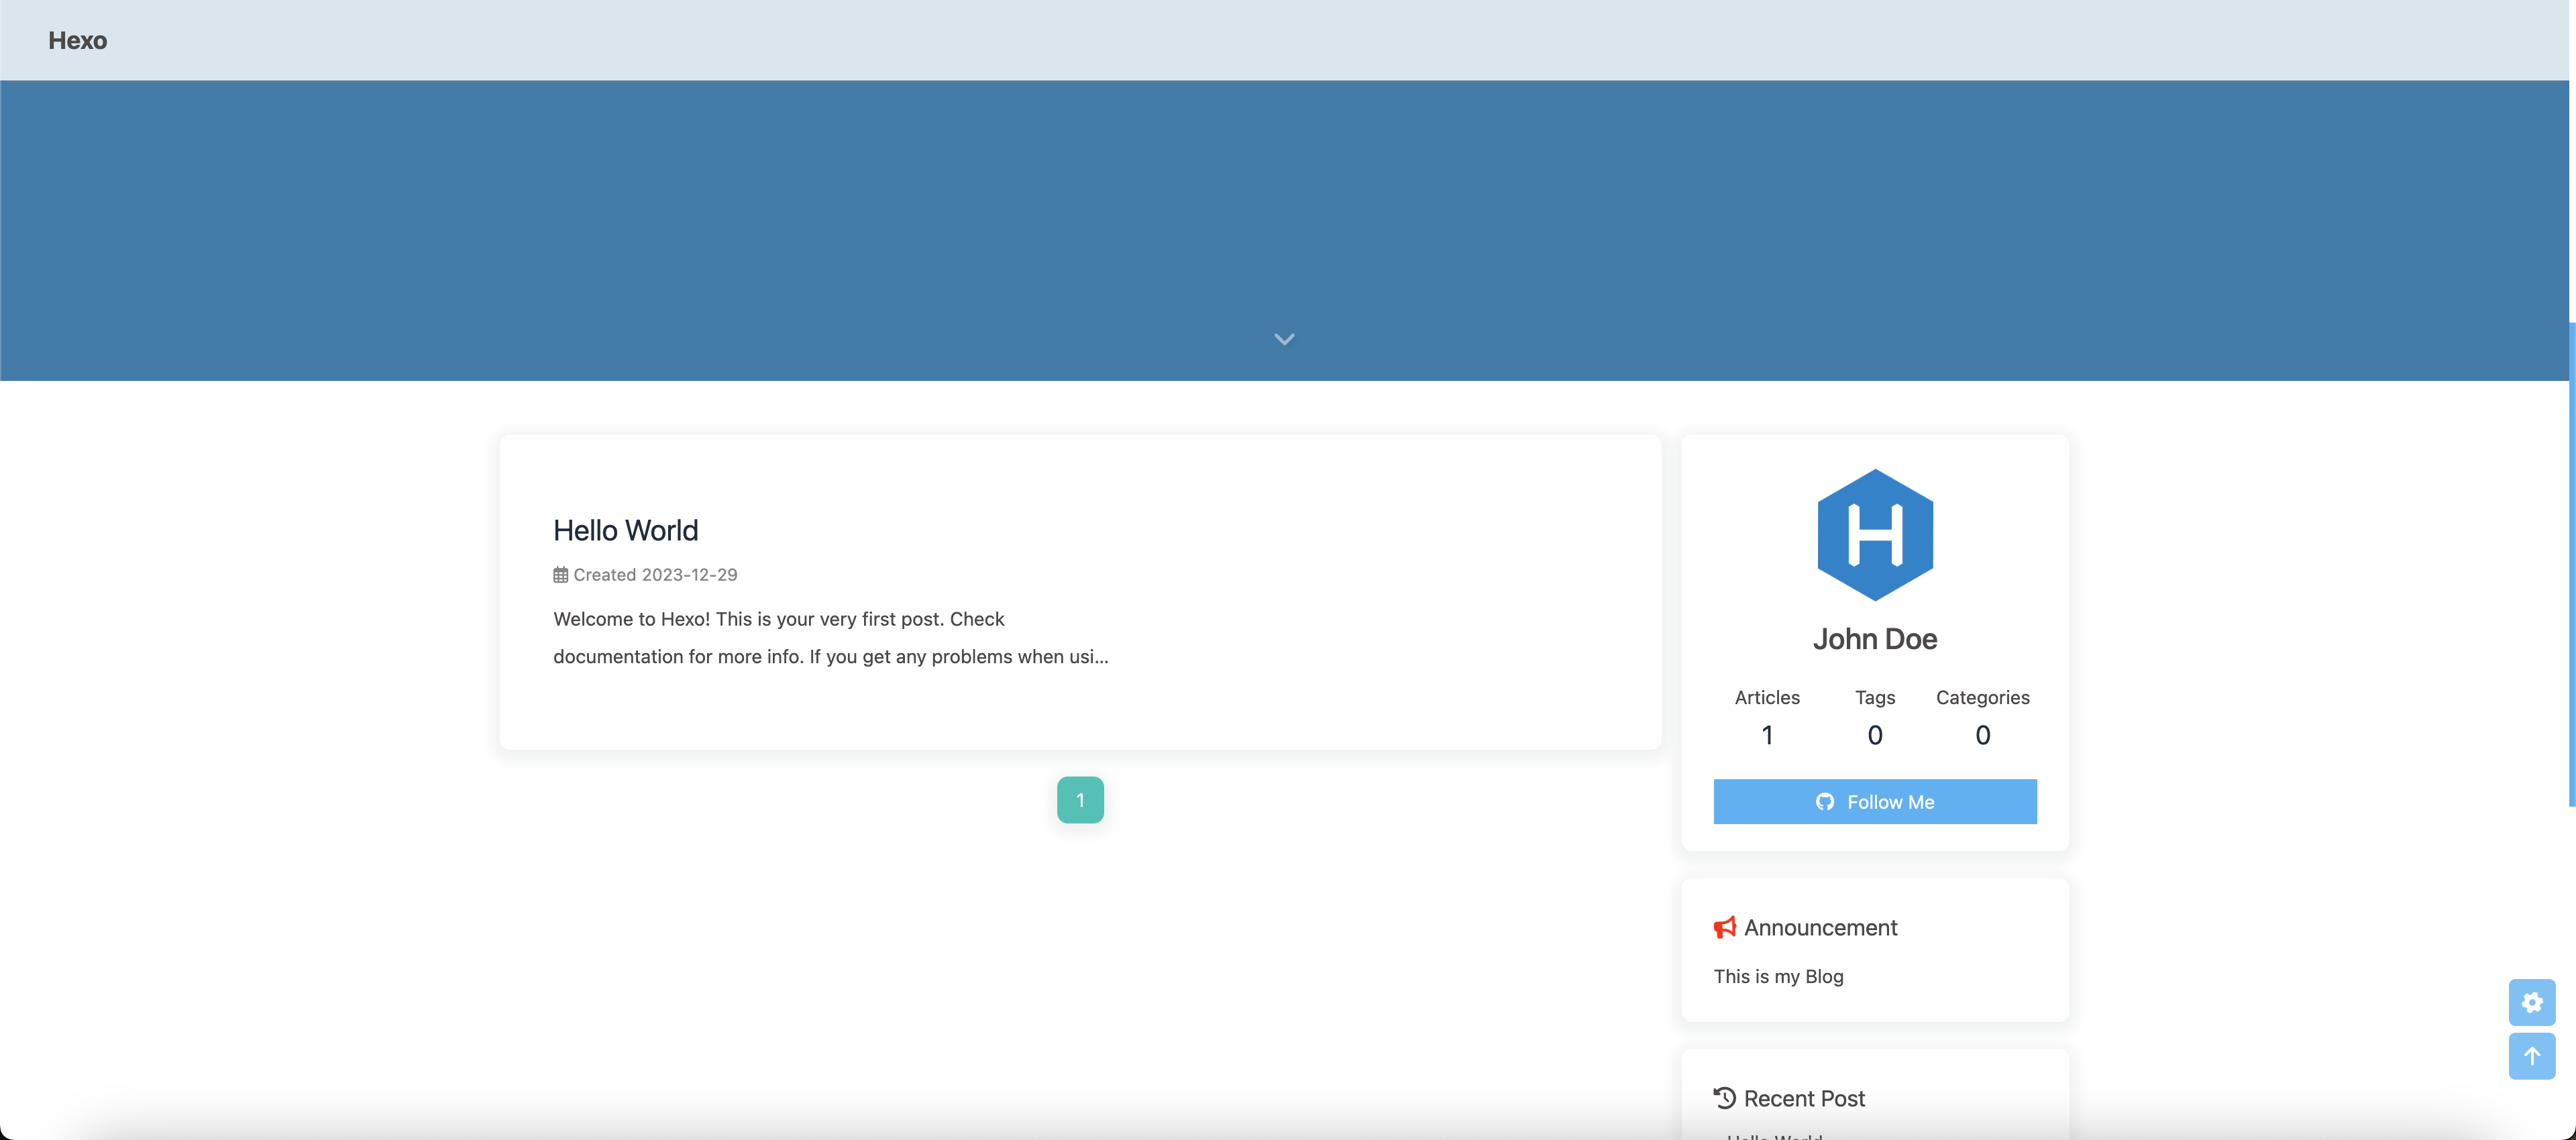
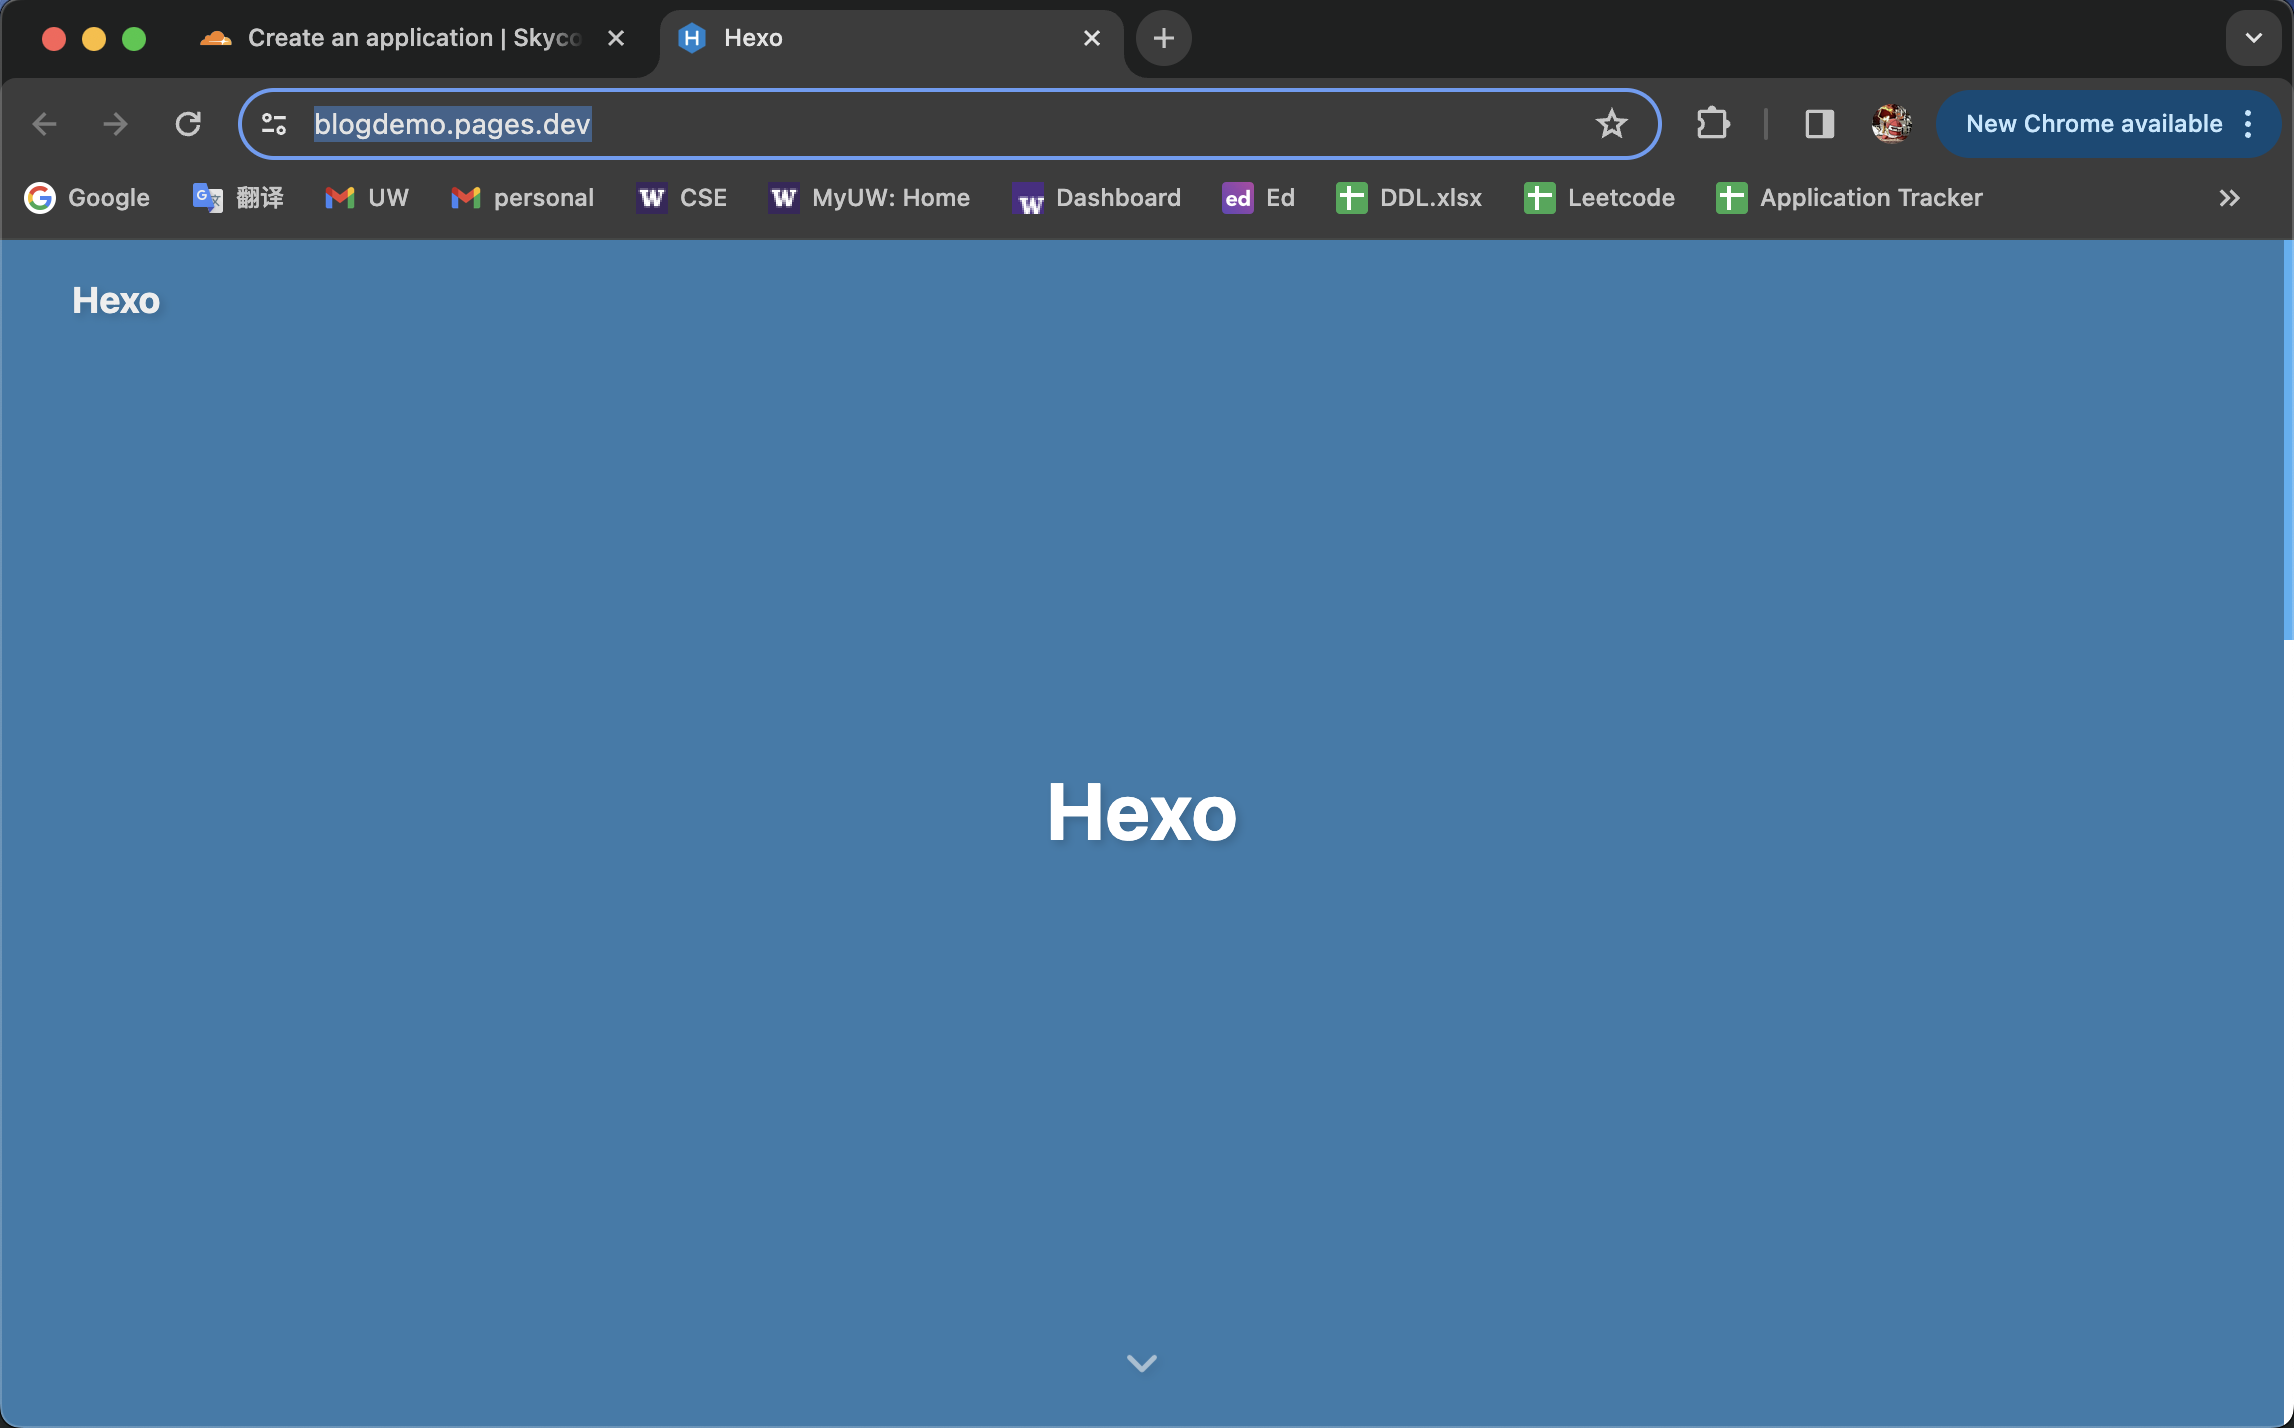
Open your web browser and go to http://localhost:4000/, you can see your local blog website
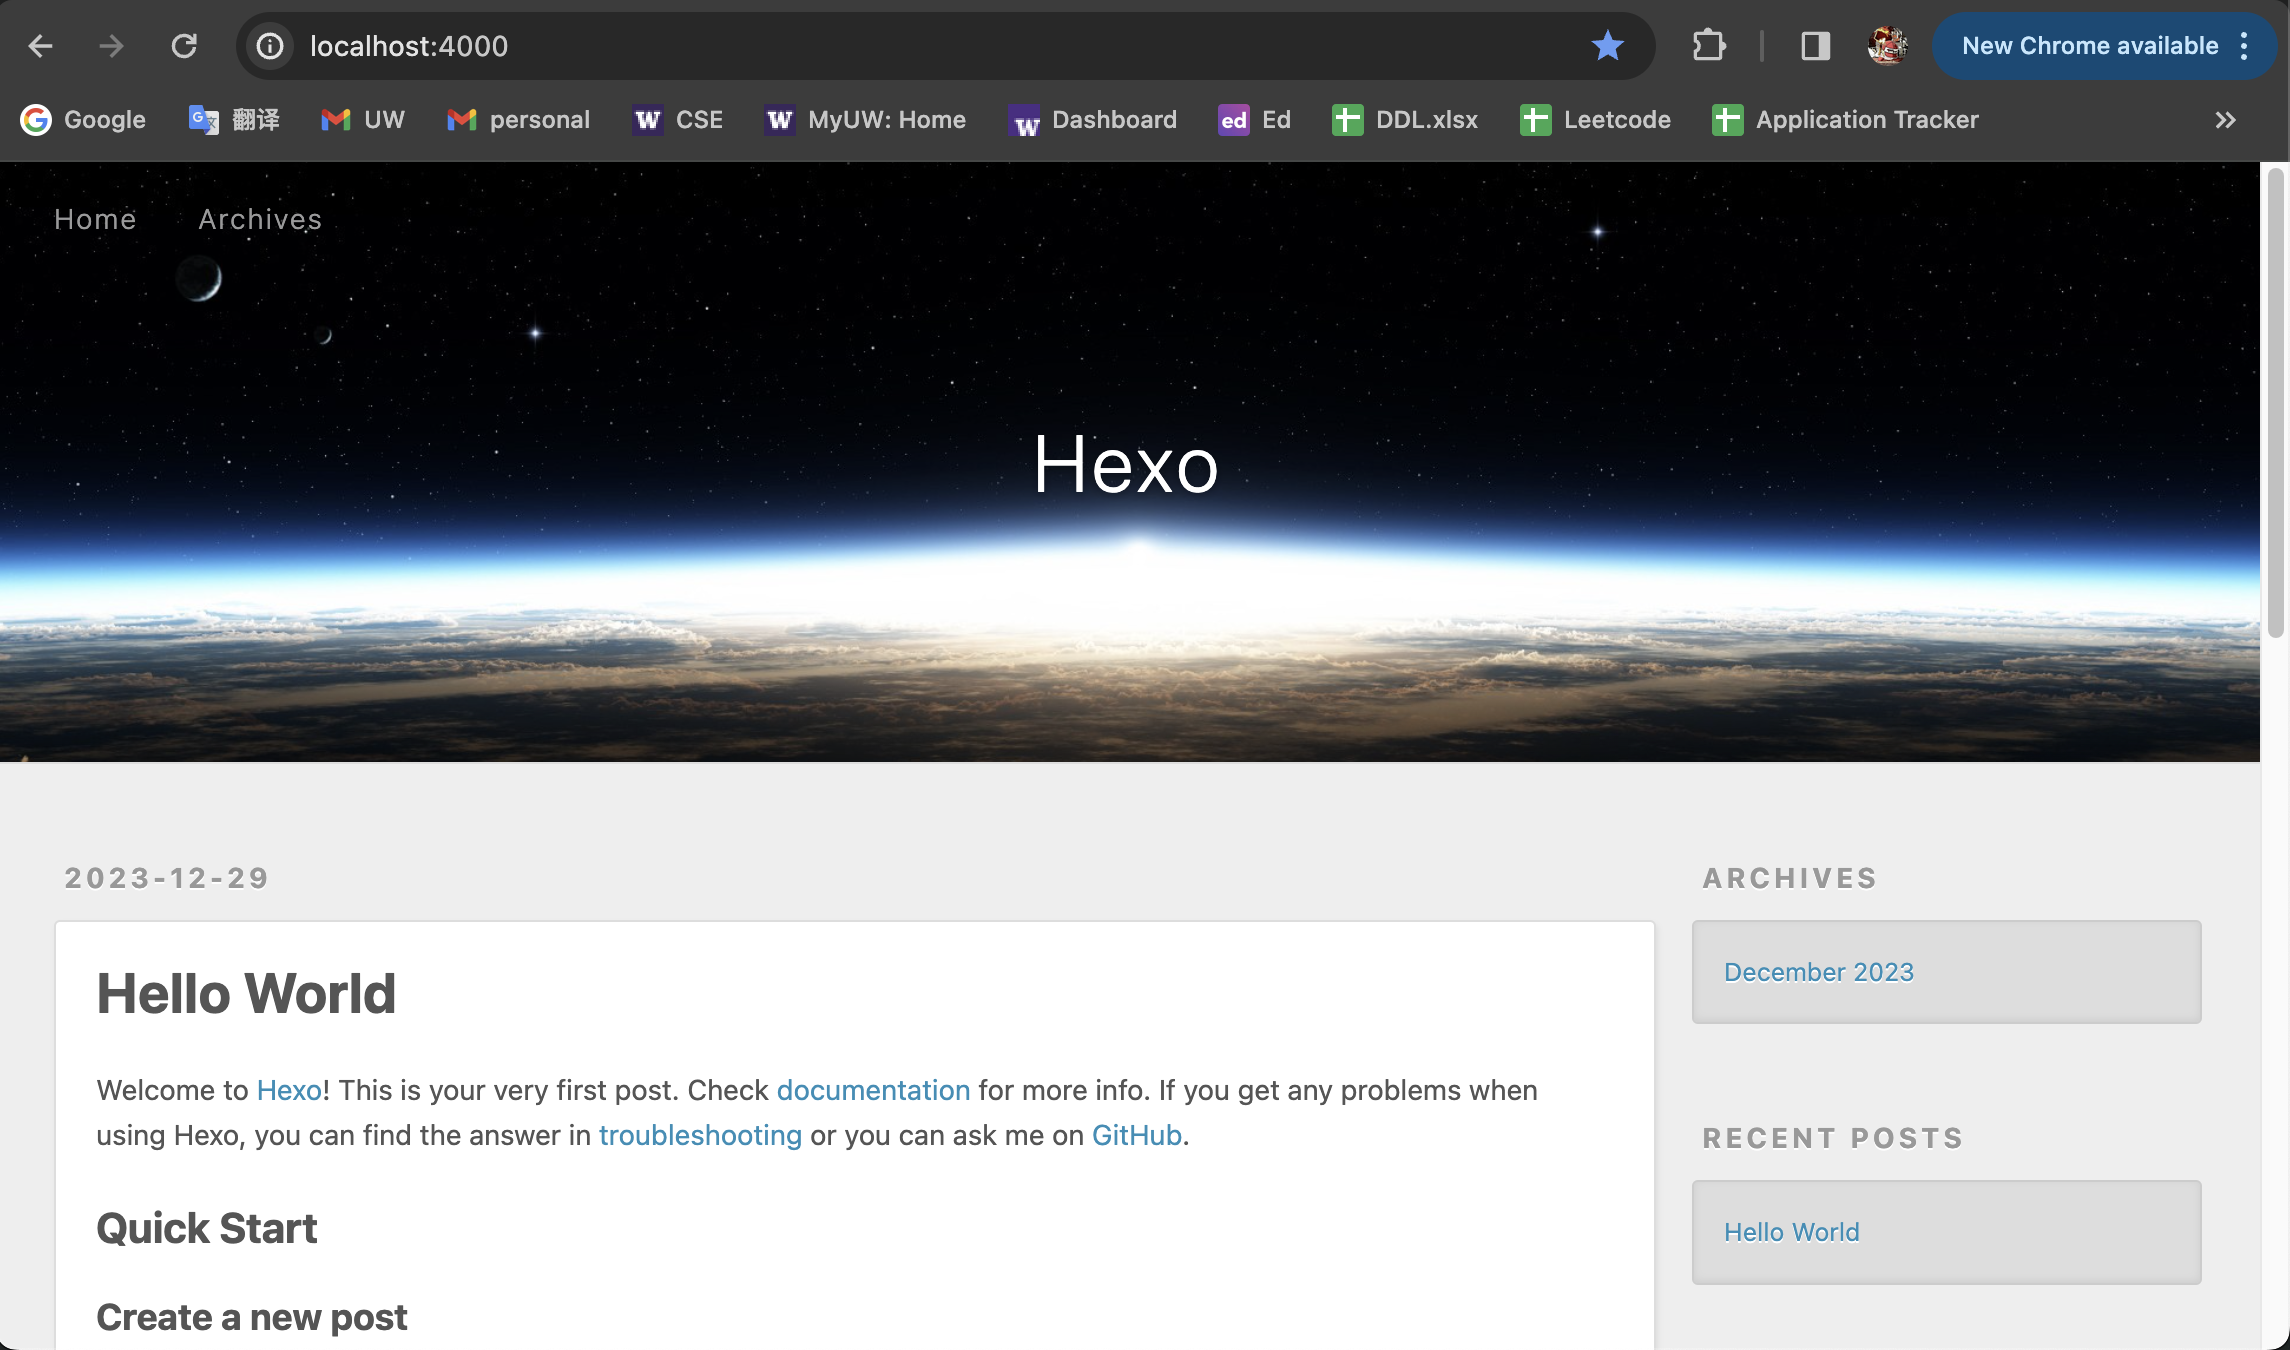
Congrats! Now you have a blog server on your local machine! But it is not done yet with only a basic template. Our next step is to use hexo theme to beautify the website before actually deploying it.
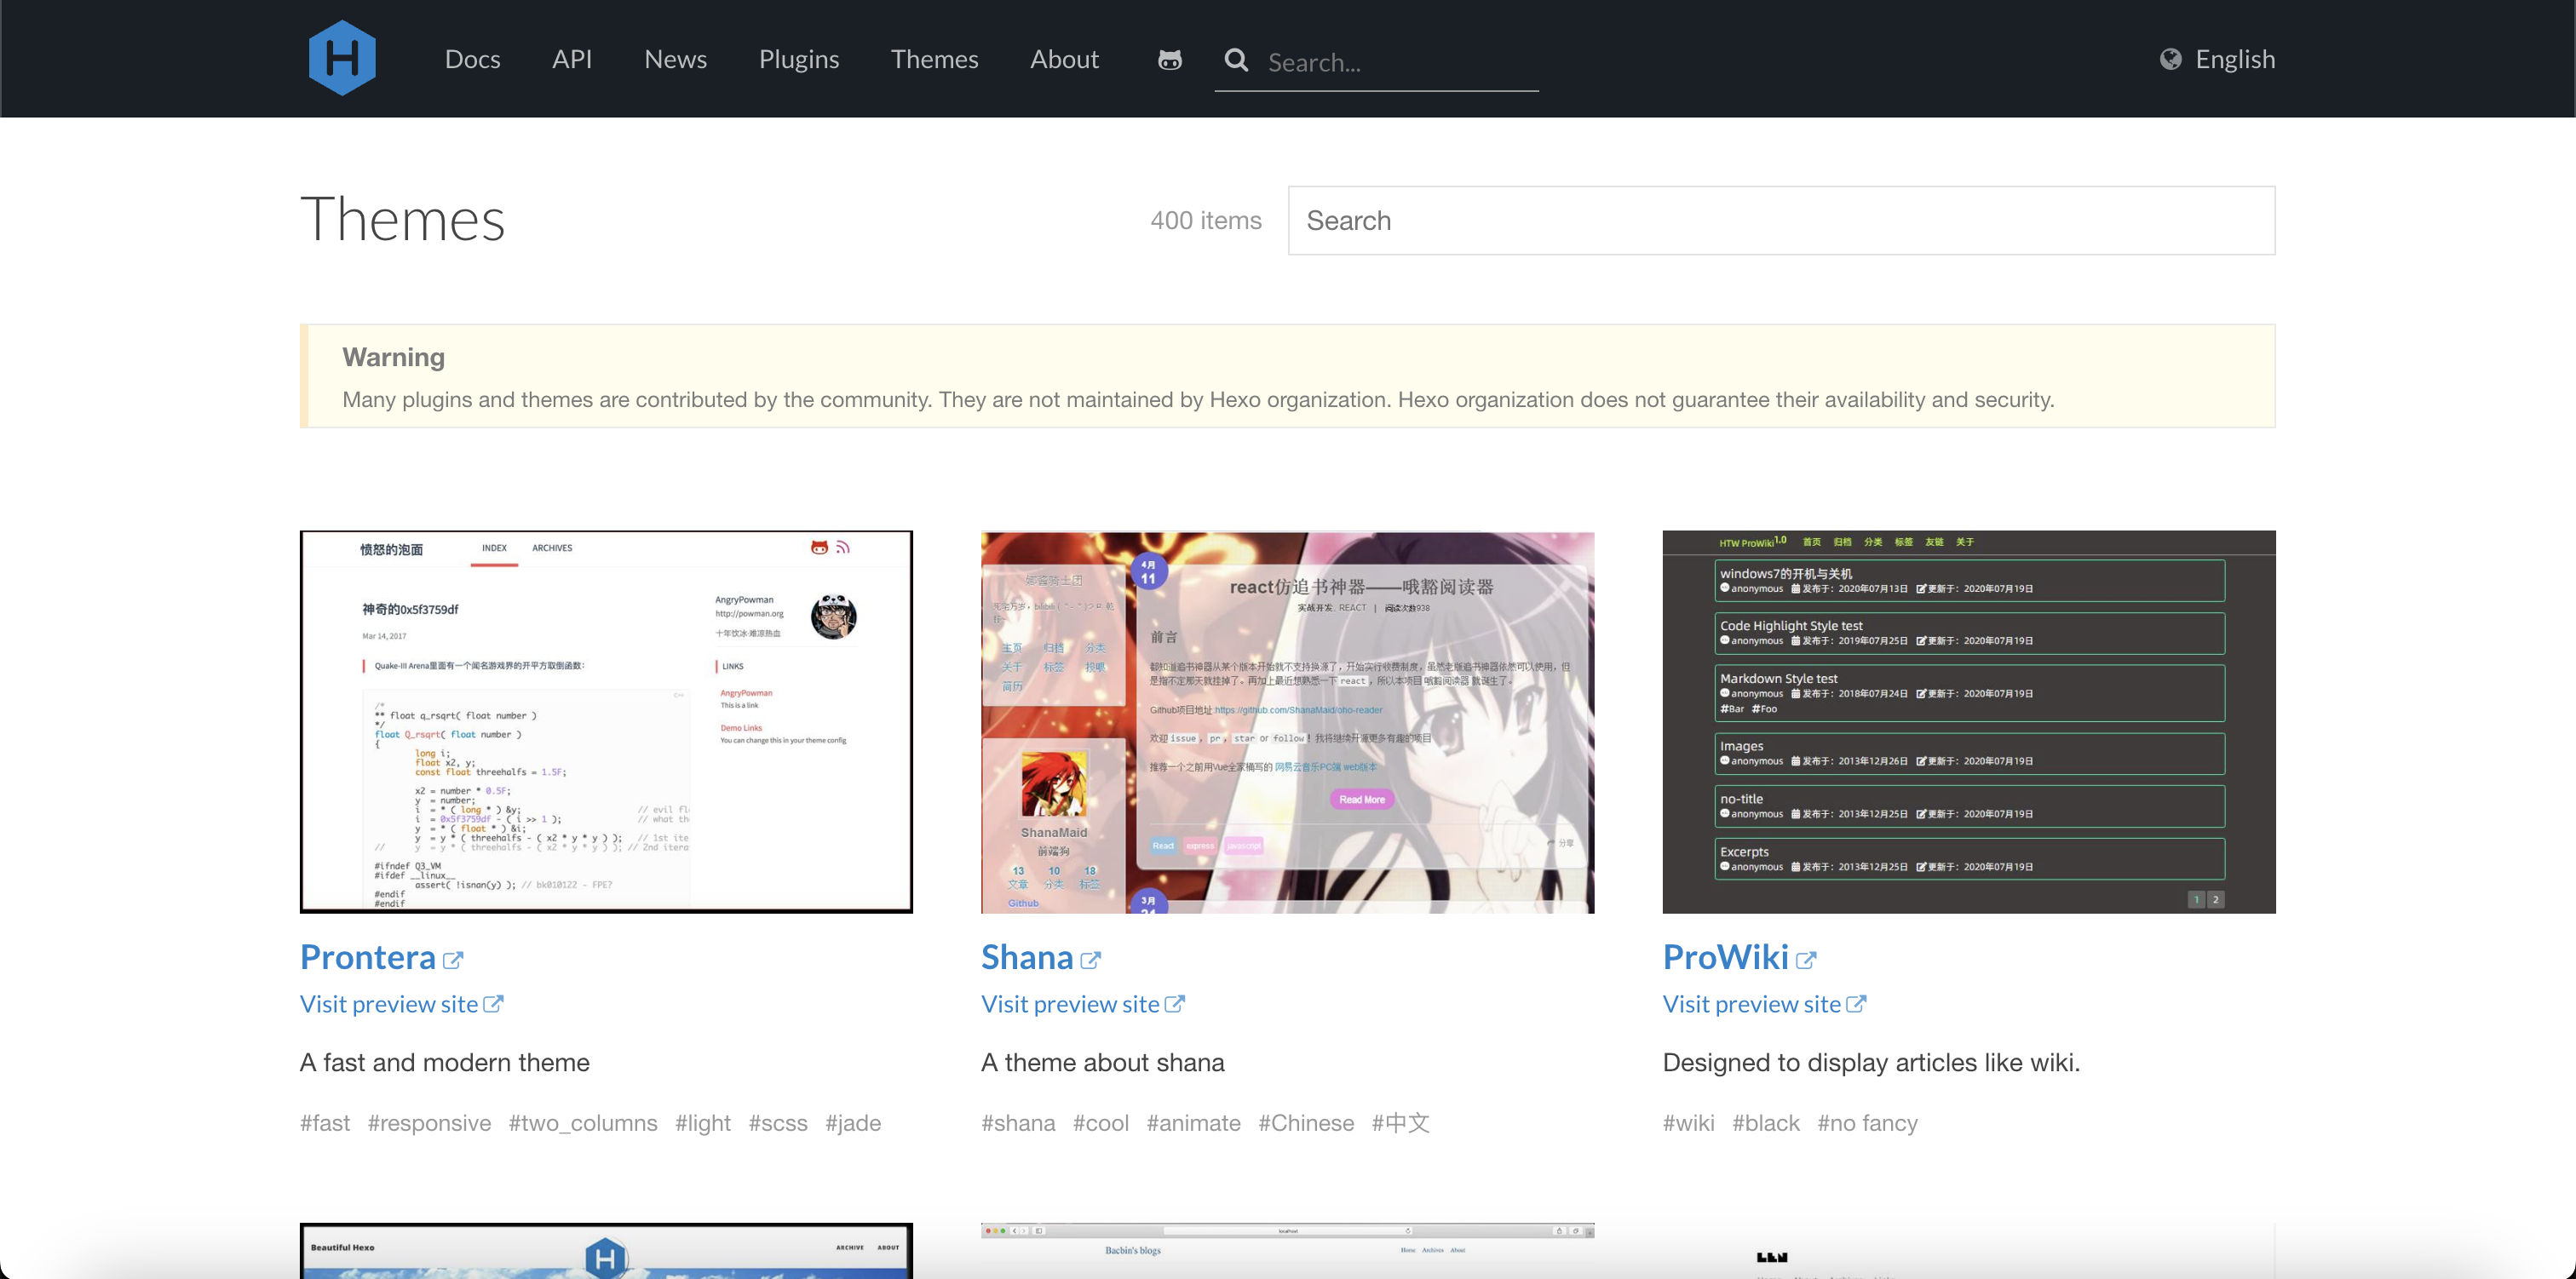
Hexo Theme
Themes are some templates for hexo blogs. You can visit themes to view all available themes hosted on the hexo. For this blog, I choose to use Butterfly as the theme.
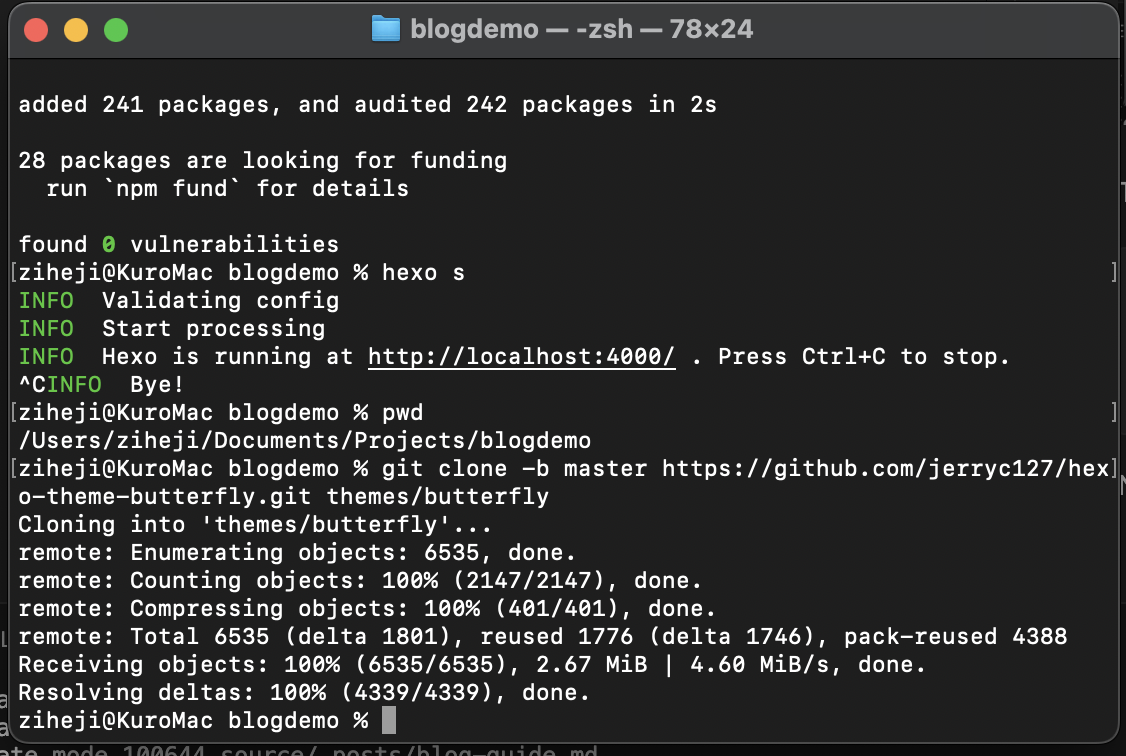
Enable Butterfly
To use the theme Butterfly, first go to your source root. In this case, is /Users/ziheji/Documents/Projects/blogdemo
Then run
1 | git clone -b master https://github.com/jerryc127/hexo-theme-butterfly.git themes/butterfly |
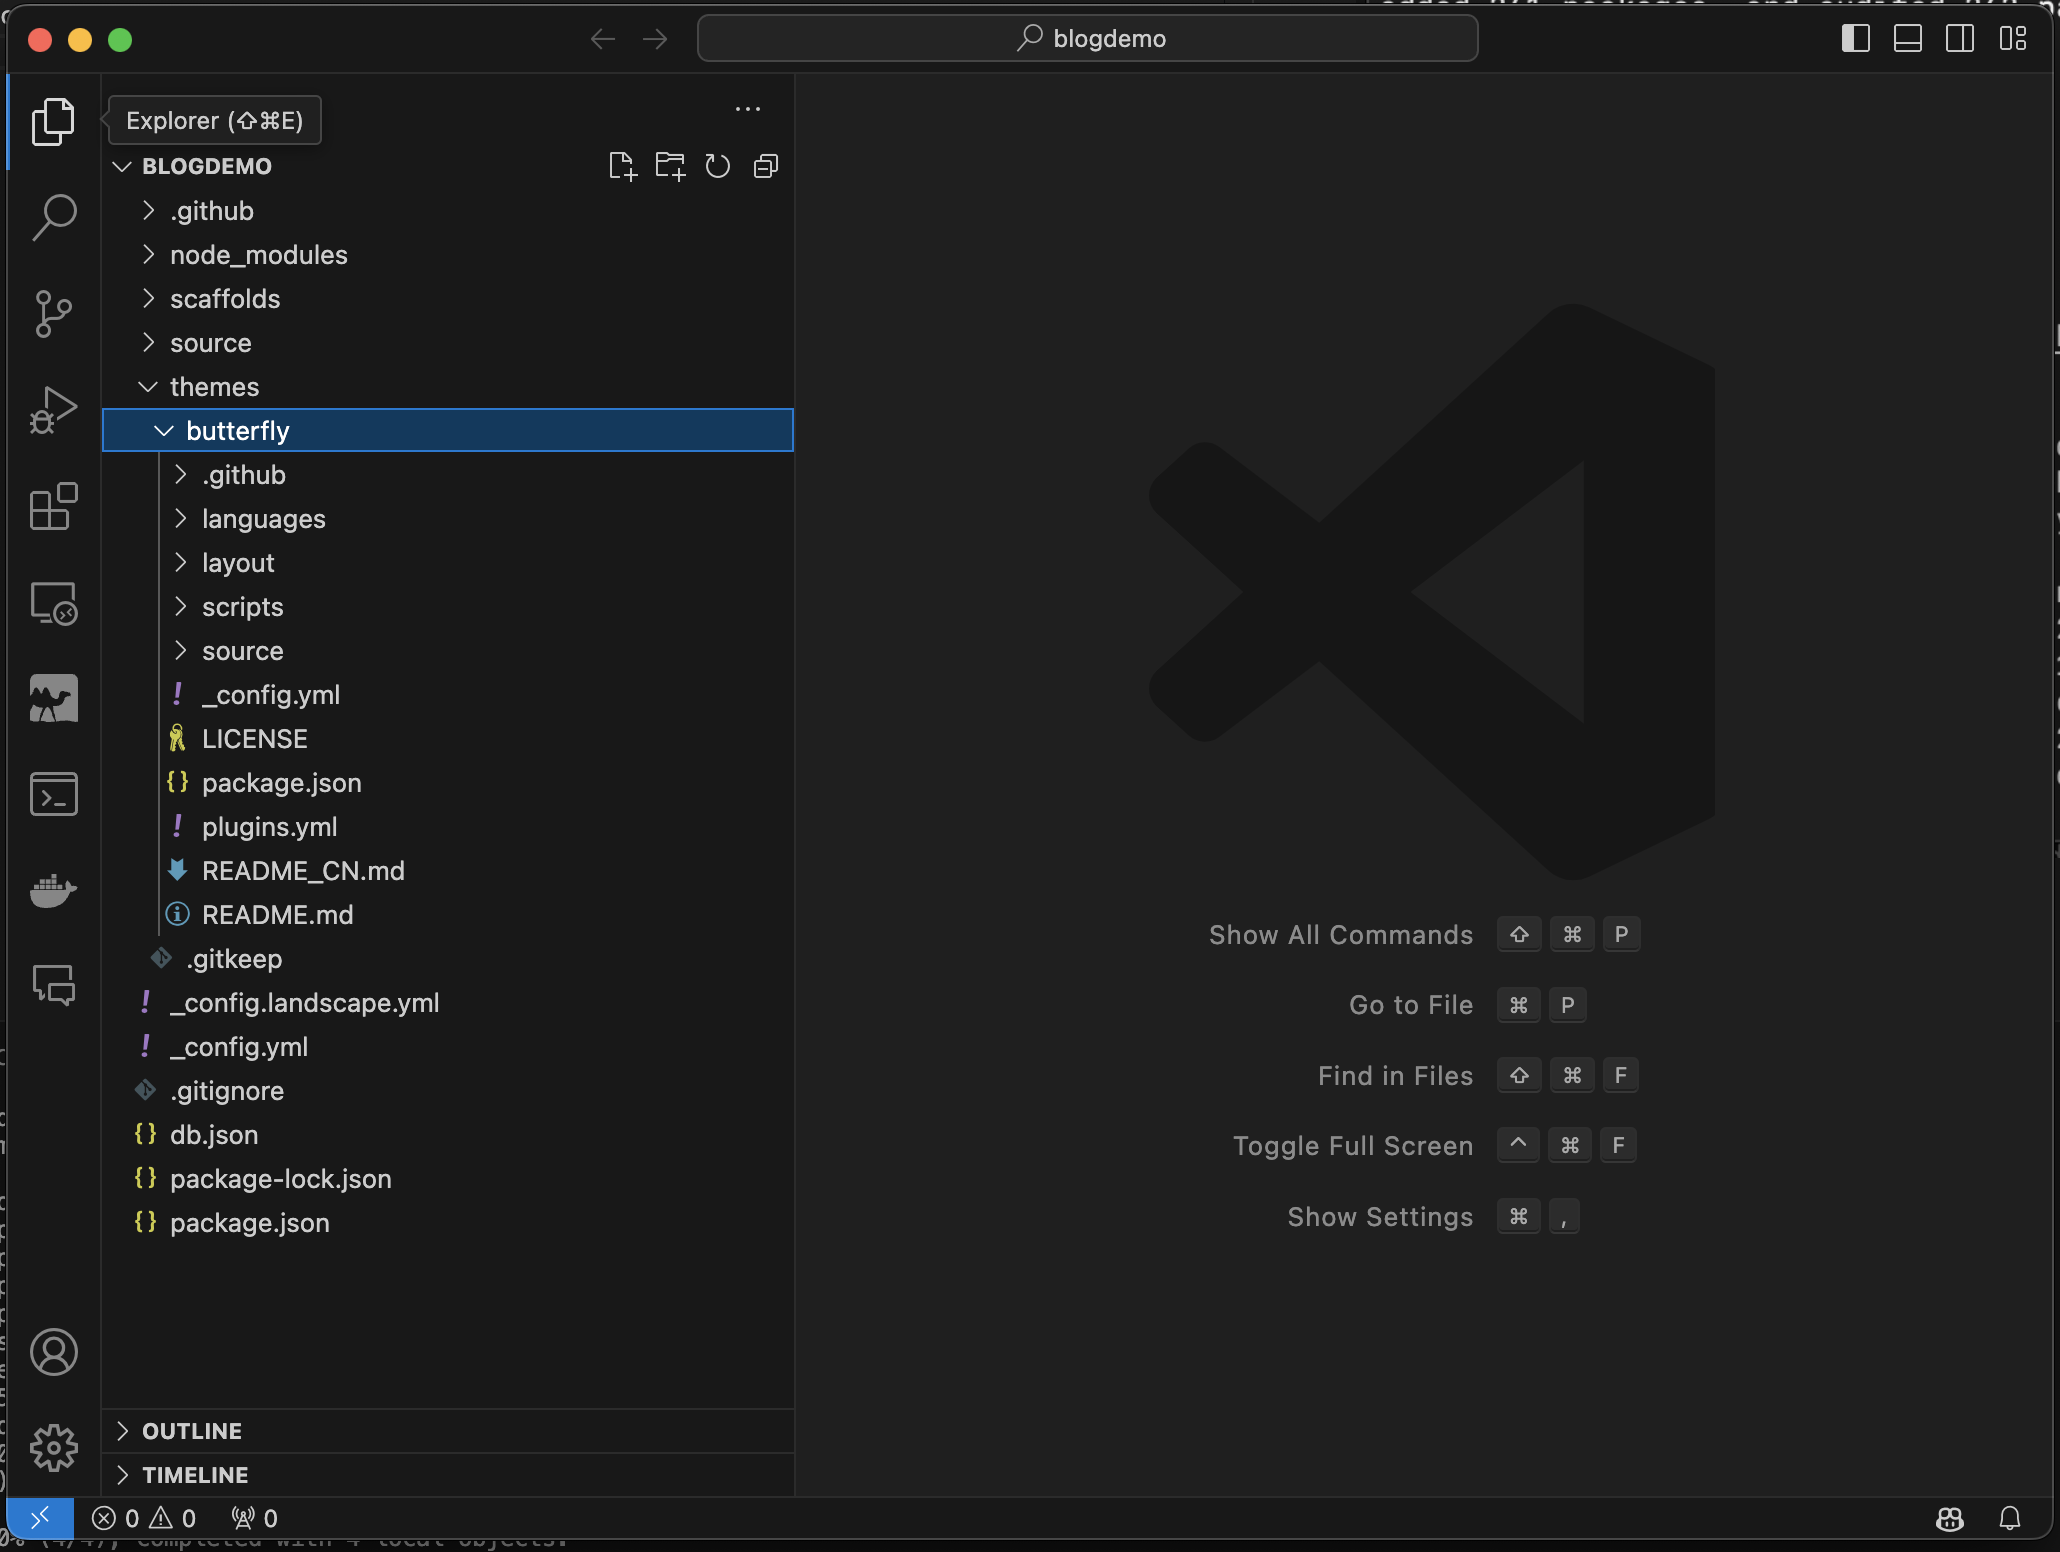
Now, in the IDE, you can see butterfly is right in your local repo
To enable Butterfly, go to _config.yml and revise theme to be ‘butterfly’ and then install the necessary package
1 | npm install hexo-renderer-pug hexo-renderer-stylus --save |
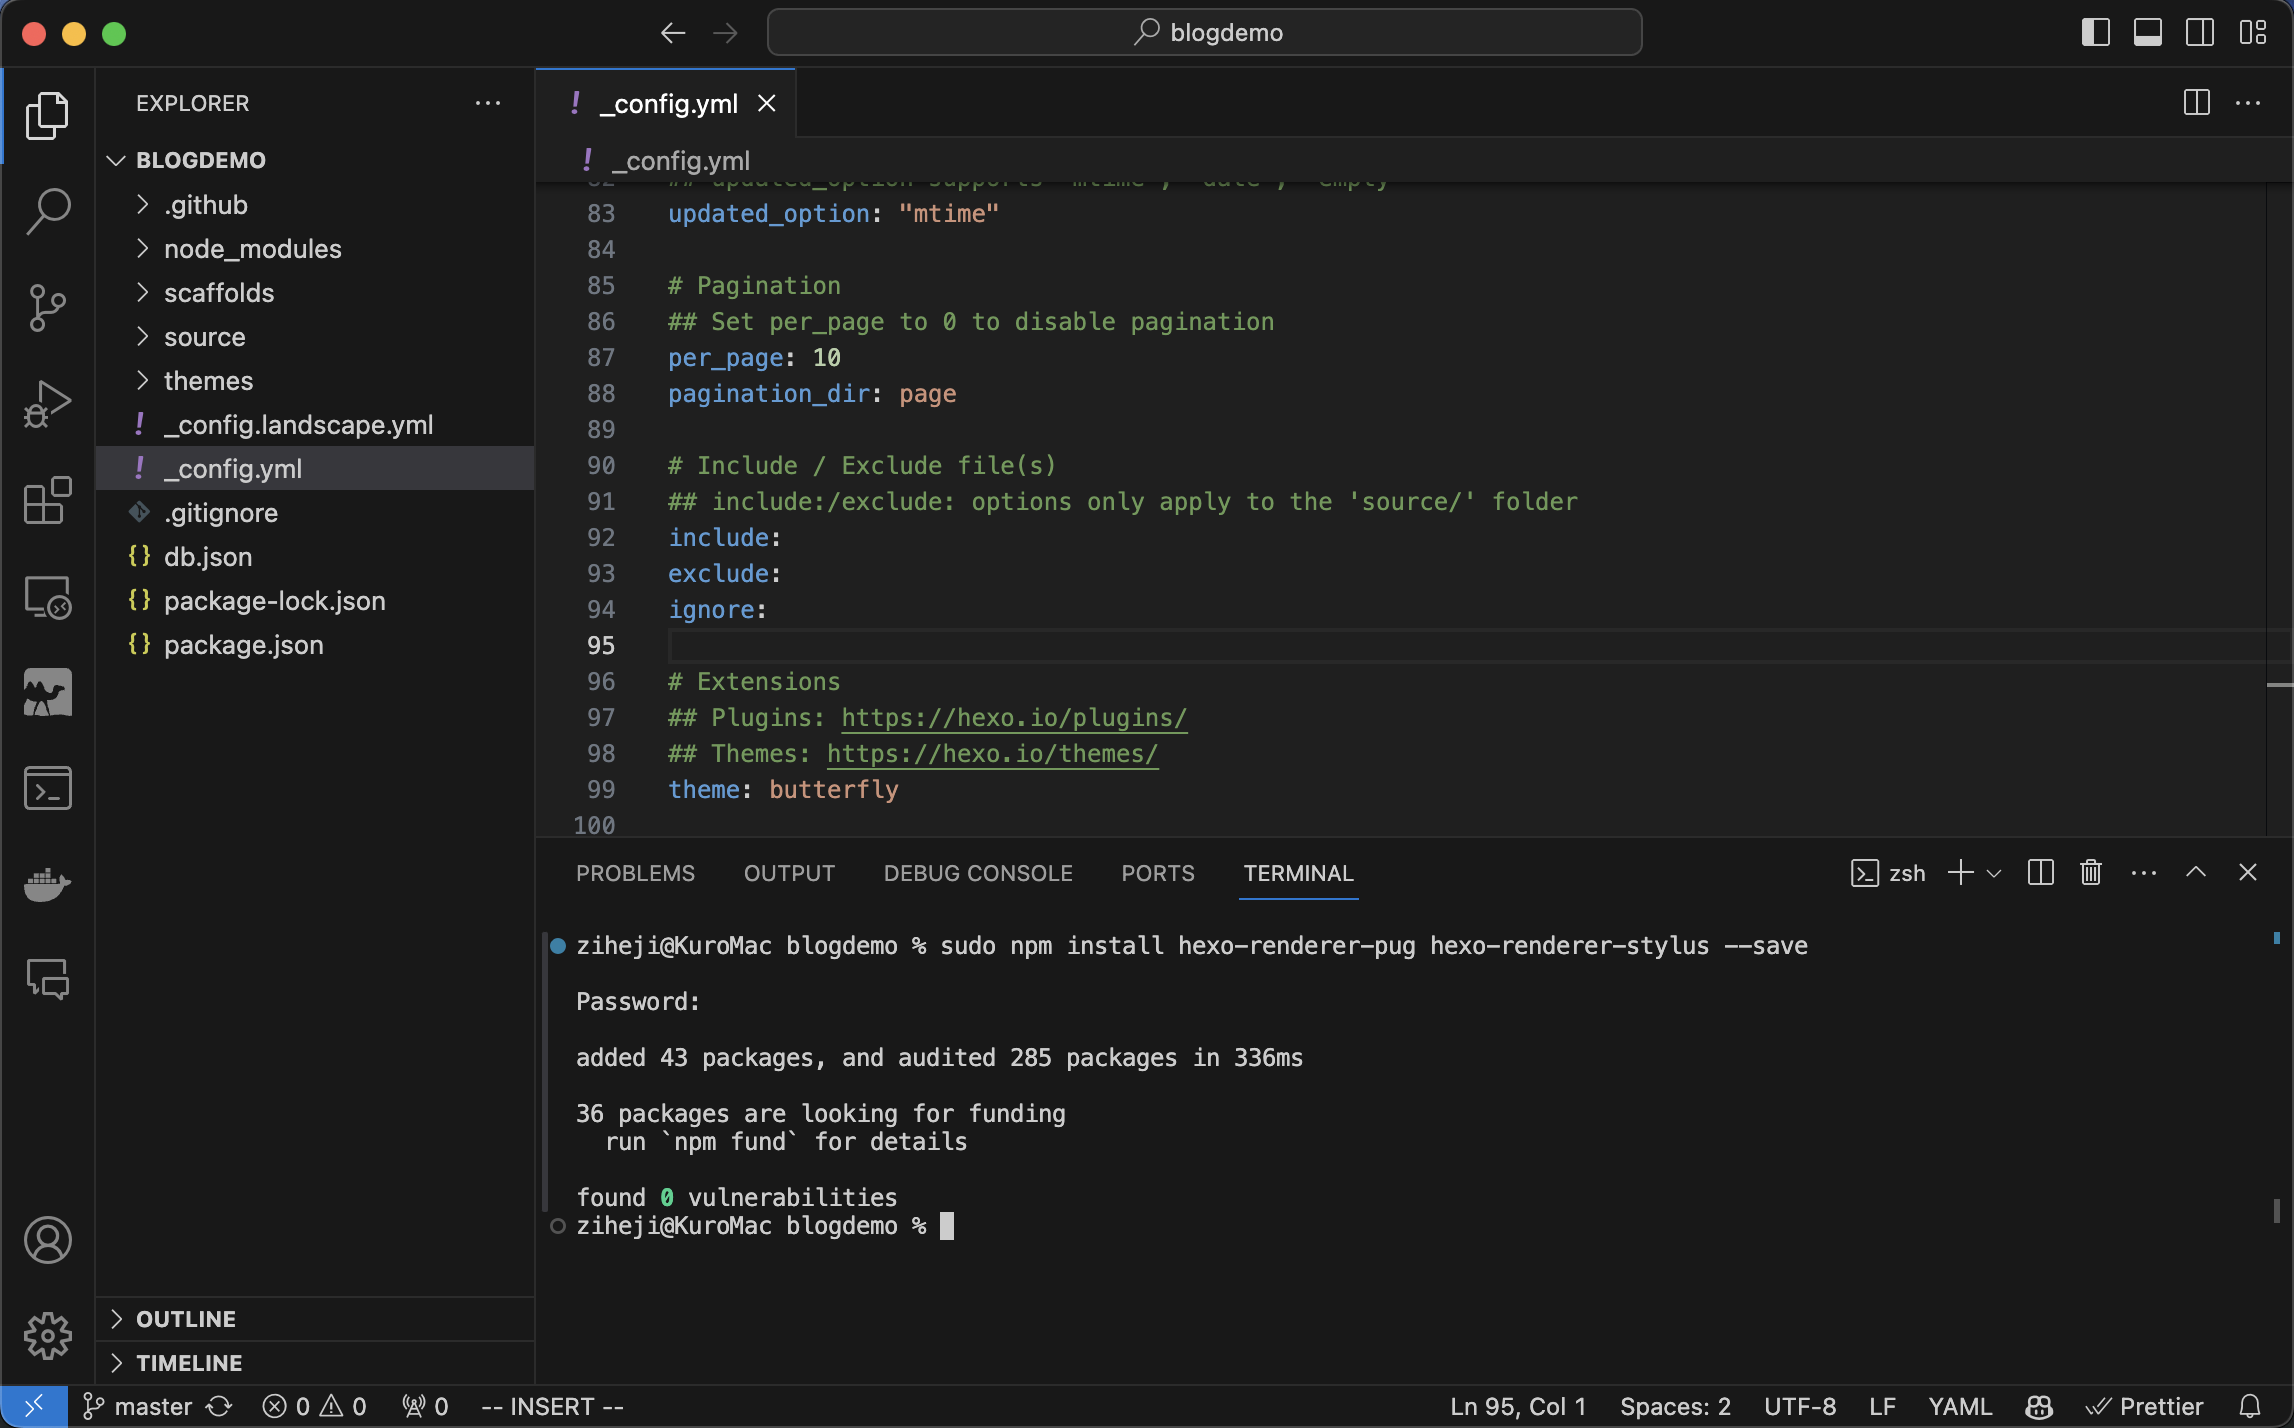
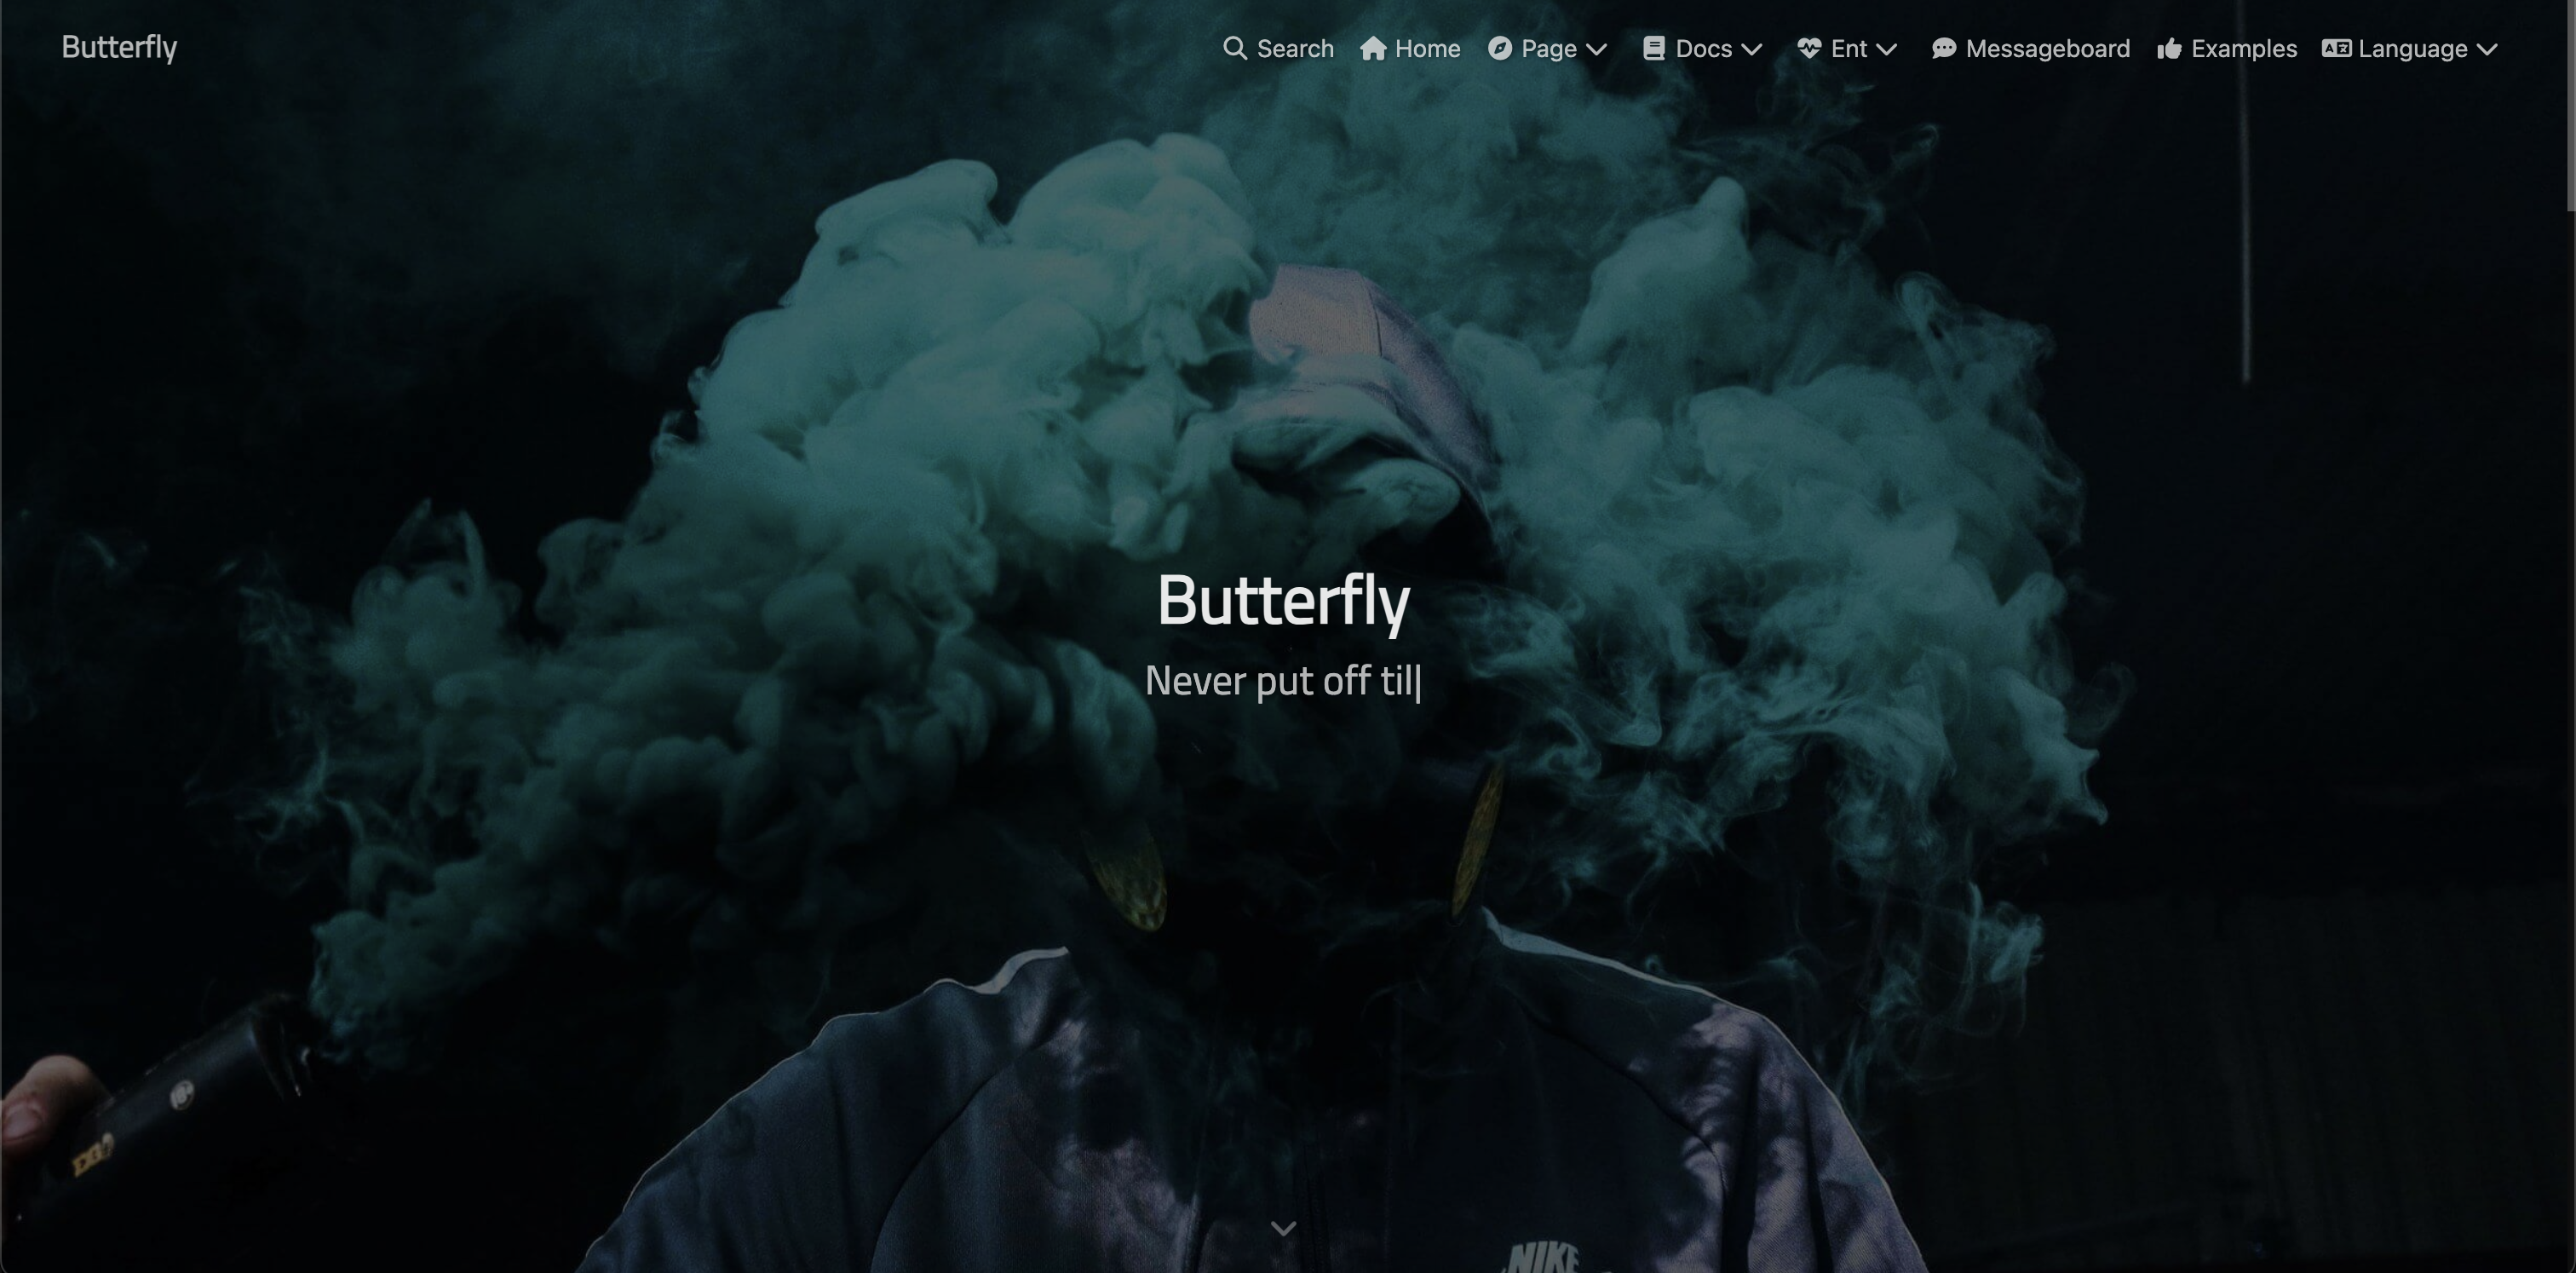
Now, run hexo s in your terminal to have a preview after setting the theme
Congrats! You now have a local blog with a decent theme. Our next step is to deploy it.
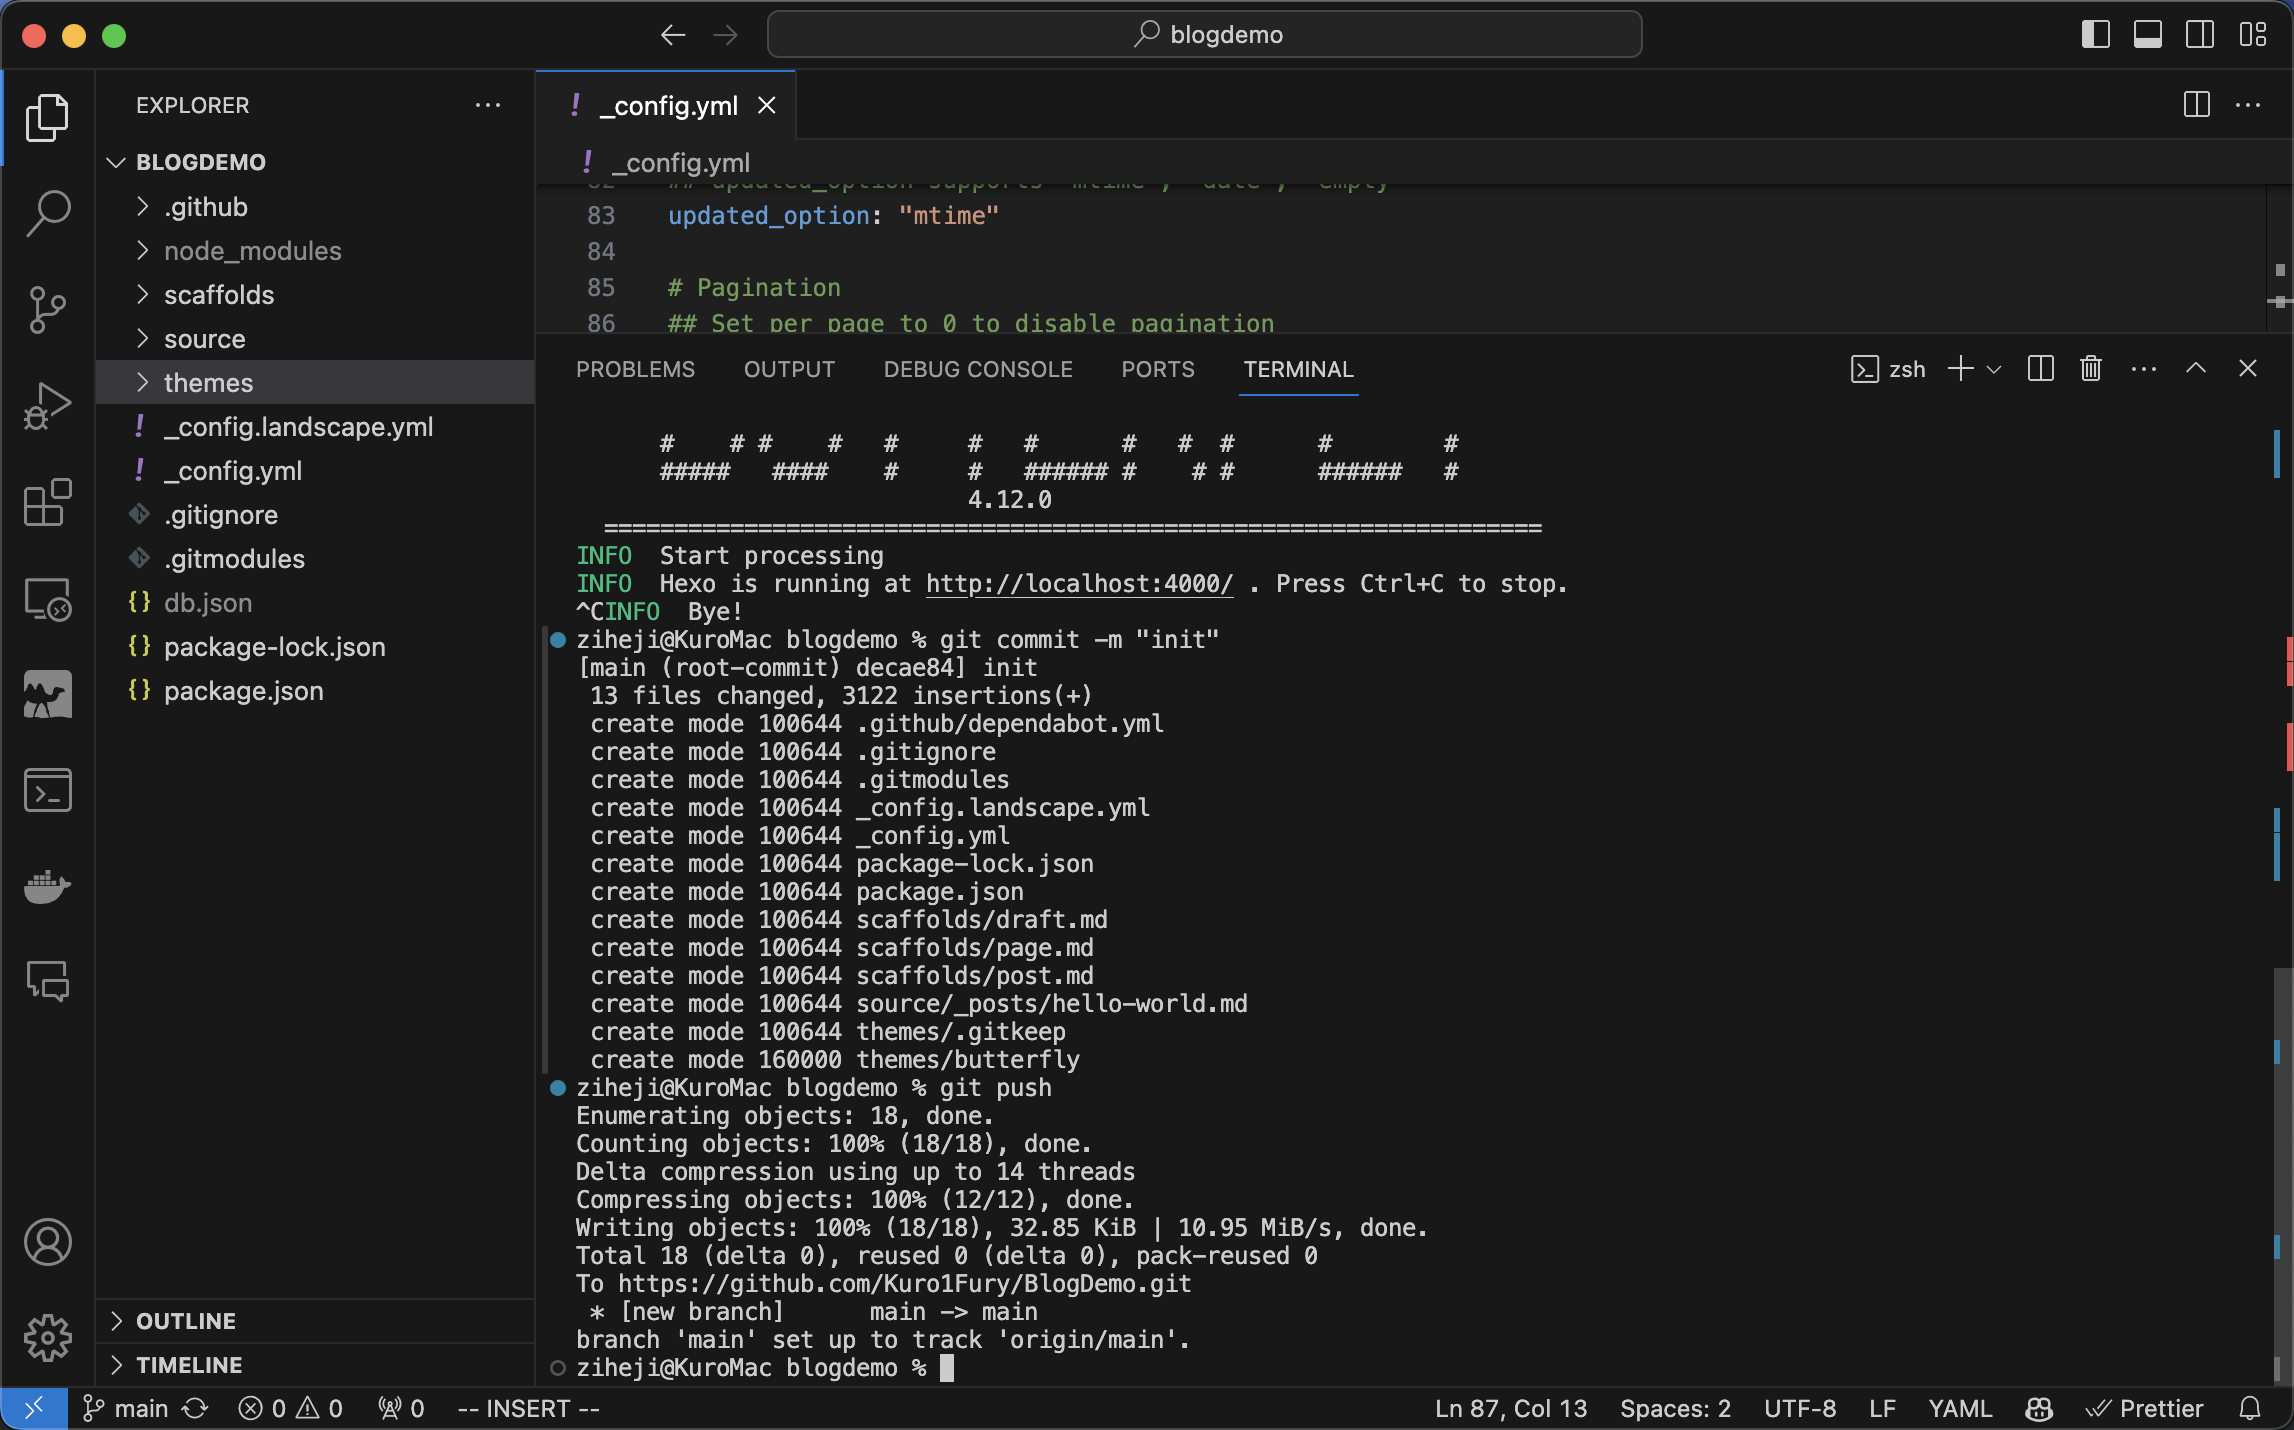
Git
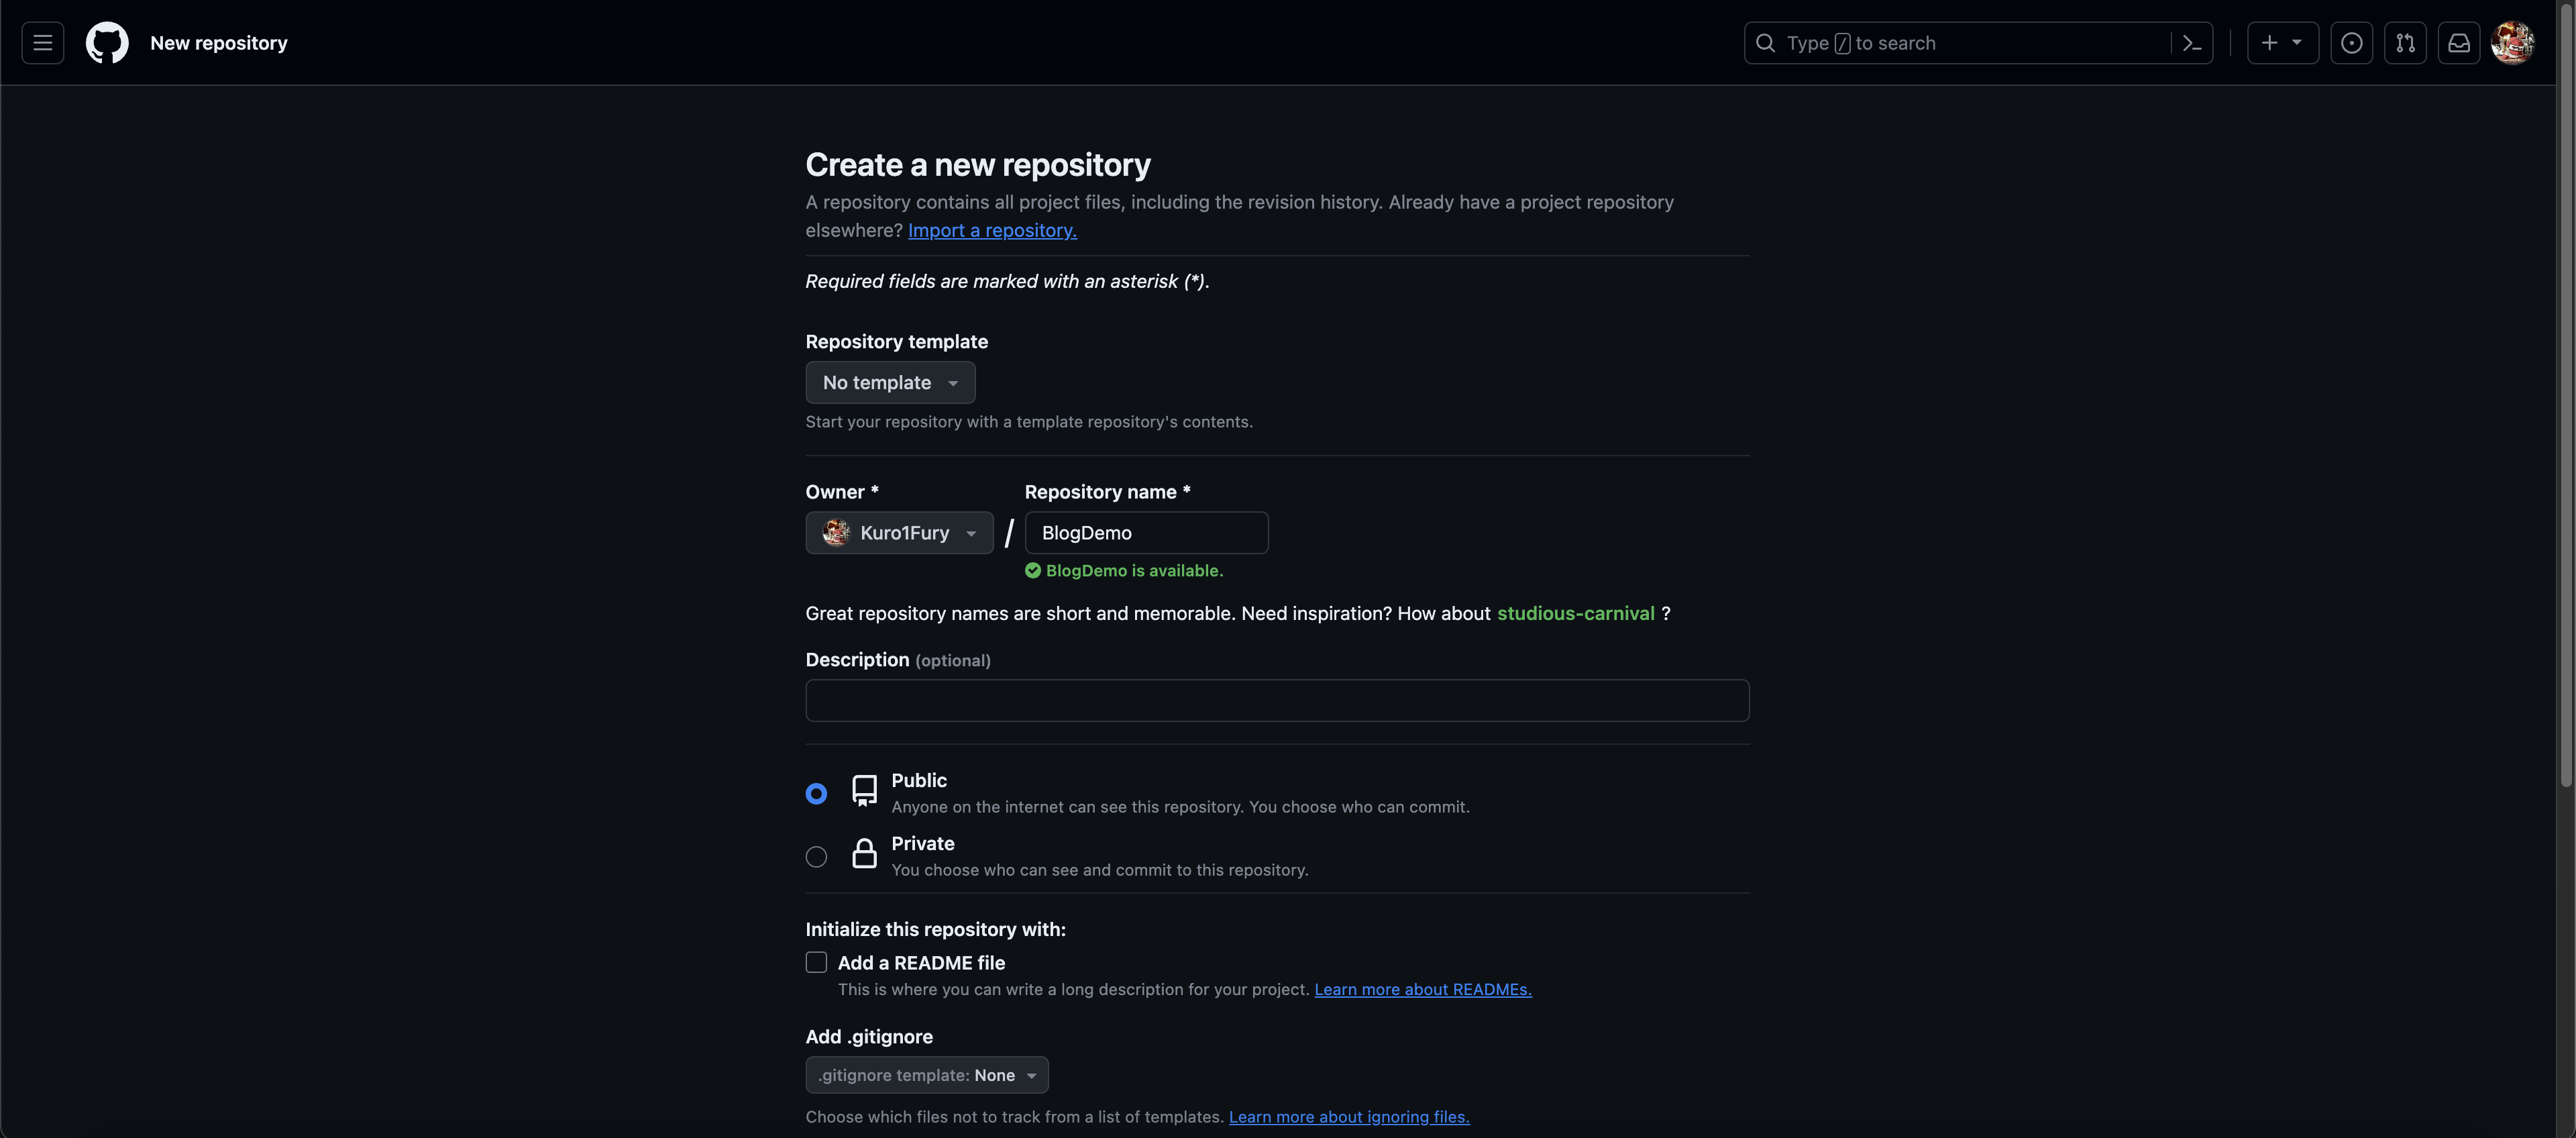
Git is a version control tool for software applications so that software engineers can store and manage their code. Assume that git is already installed on your machine, create a repository on Github and then push the code there.
However, one thing to notice is that if you do the normal procedure pushing the code, you will see the following warning:
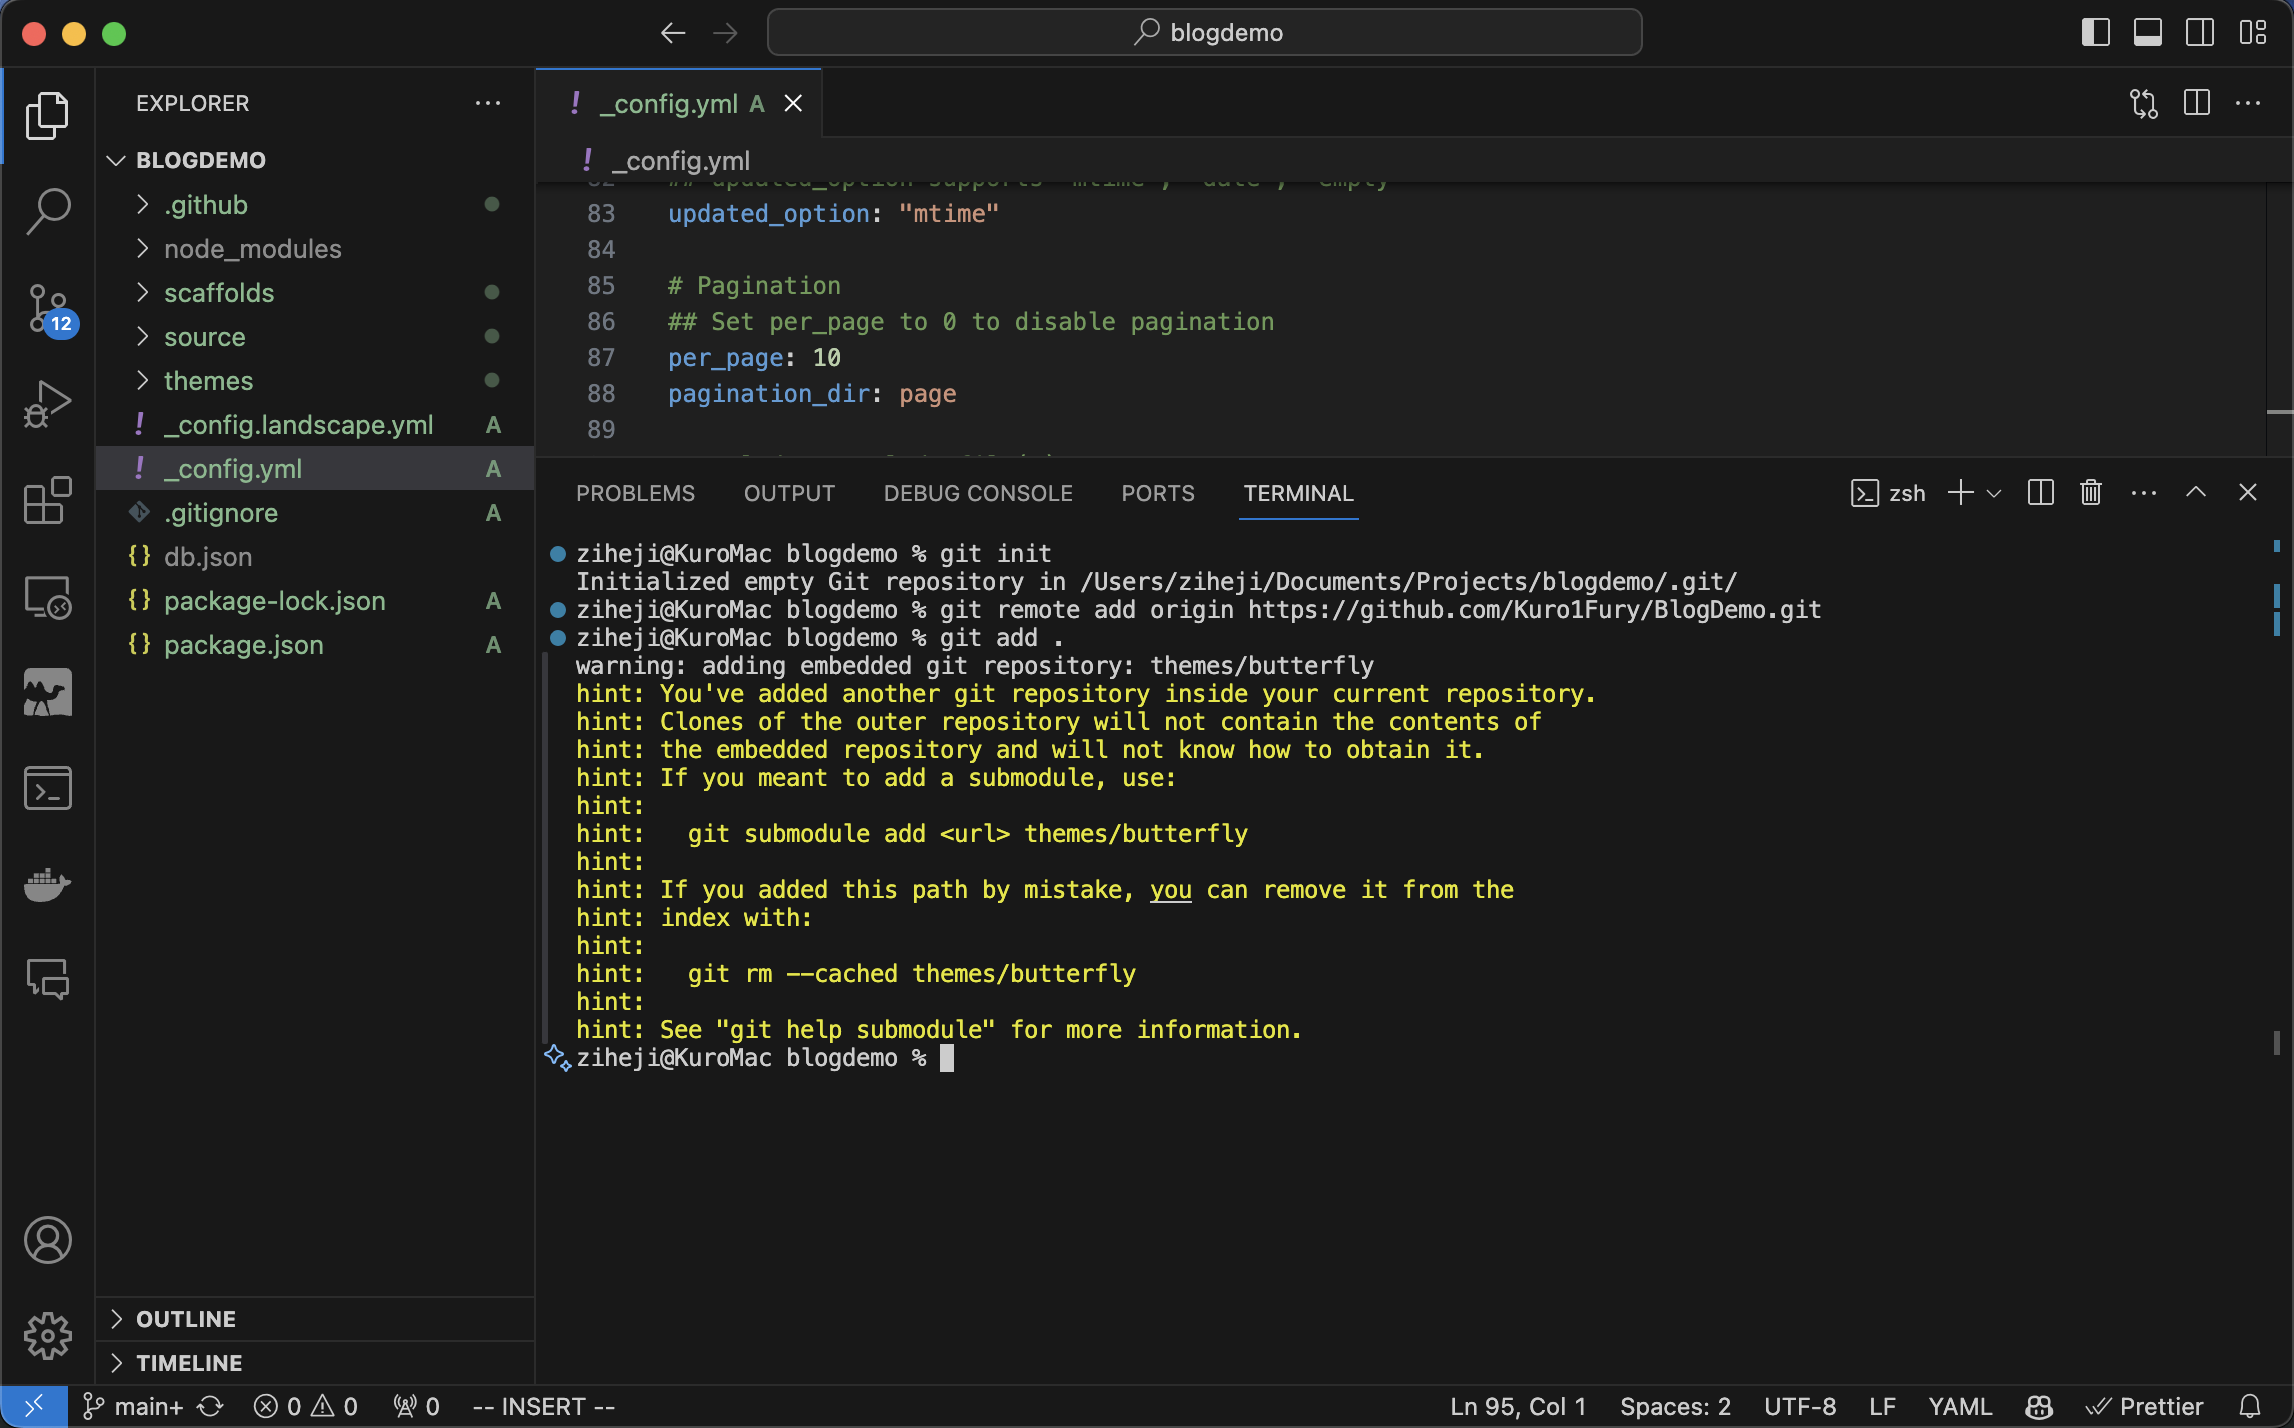
This is because our repo involves another repo Butterfly, so we need to run the following command in order to let git knows where Butterfly comes from
1 | git submodule add https://github.com/jerryc127/hexo-theme-butterfly.git themes/butterfly |
If you see the warning “fatal: ‘themes/butterfly’ already exists in the index” when adding the submodule, then run the folloing command and add the submodule again
1 | git rm -rf --cached themes/butterfly |
After setting the submodule, restart the server to make sure the website is working and commit and push.
Deploy
It is your choice to deploy the blog on any domain you want. If you don’t have experience depolying a website, I recommand using Cloudflare or Netlify.
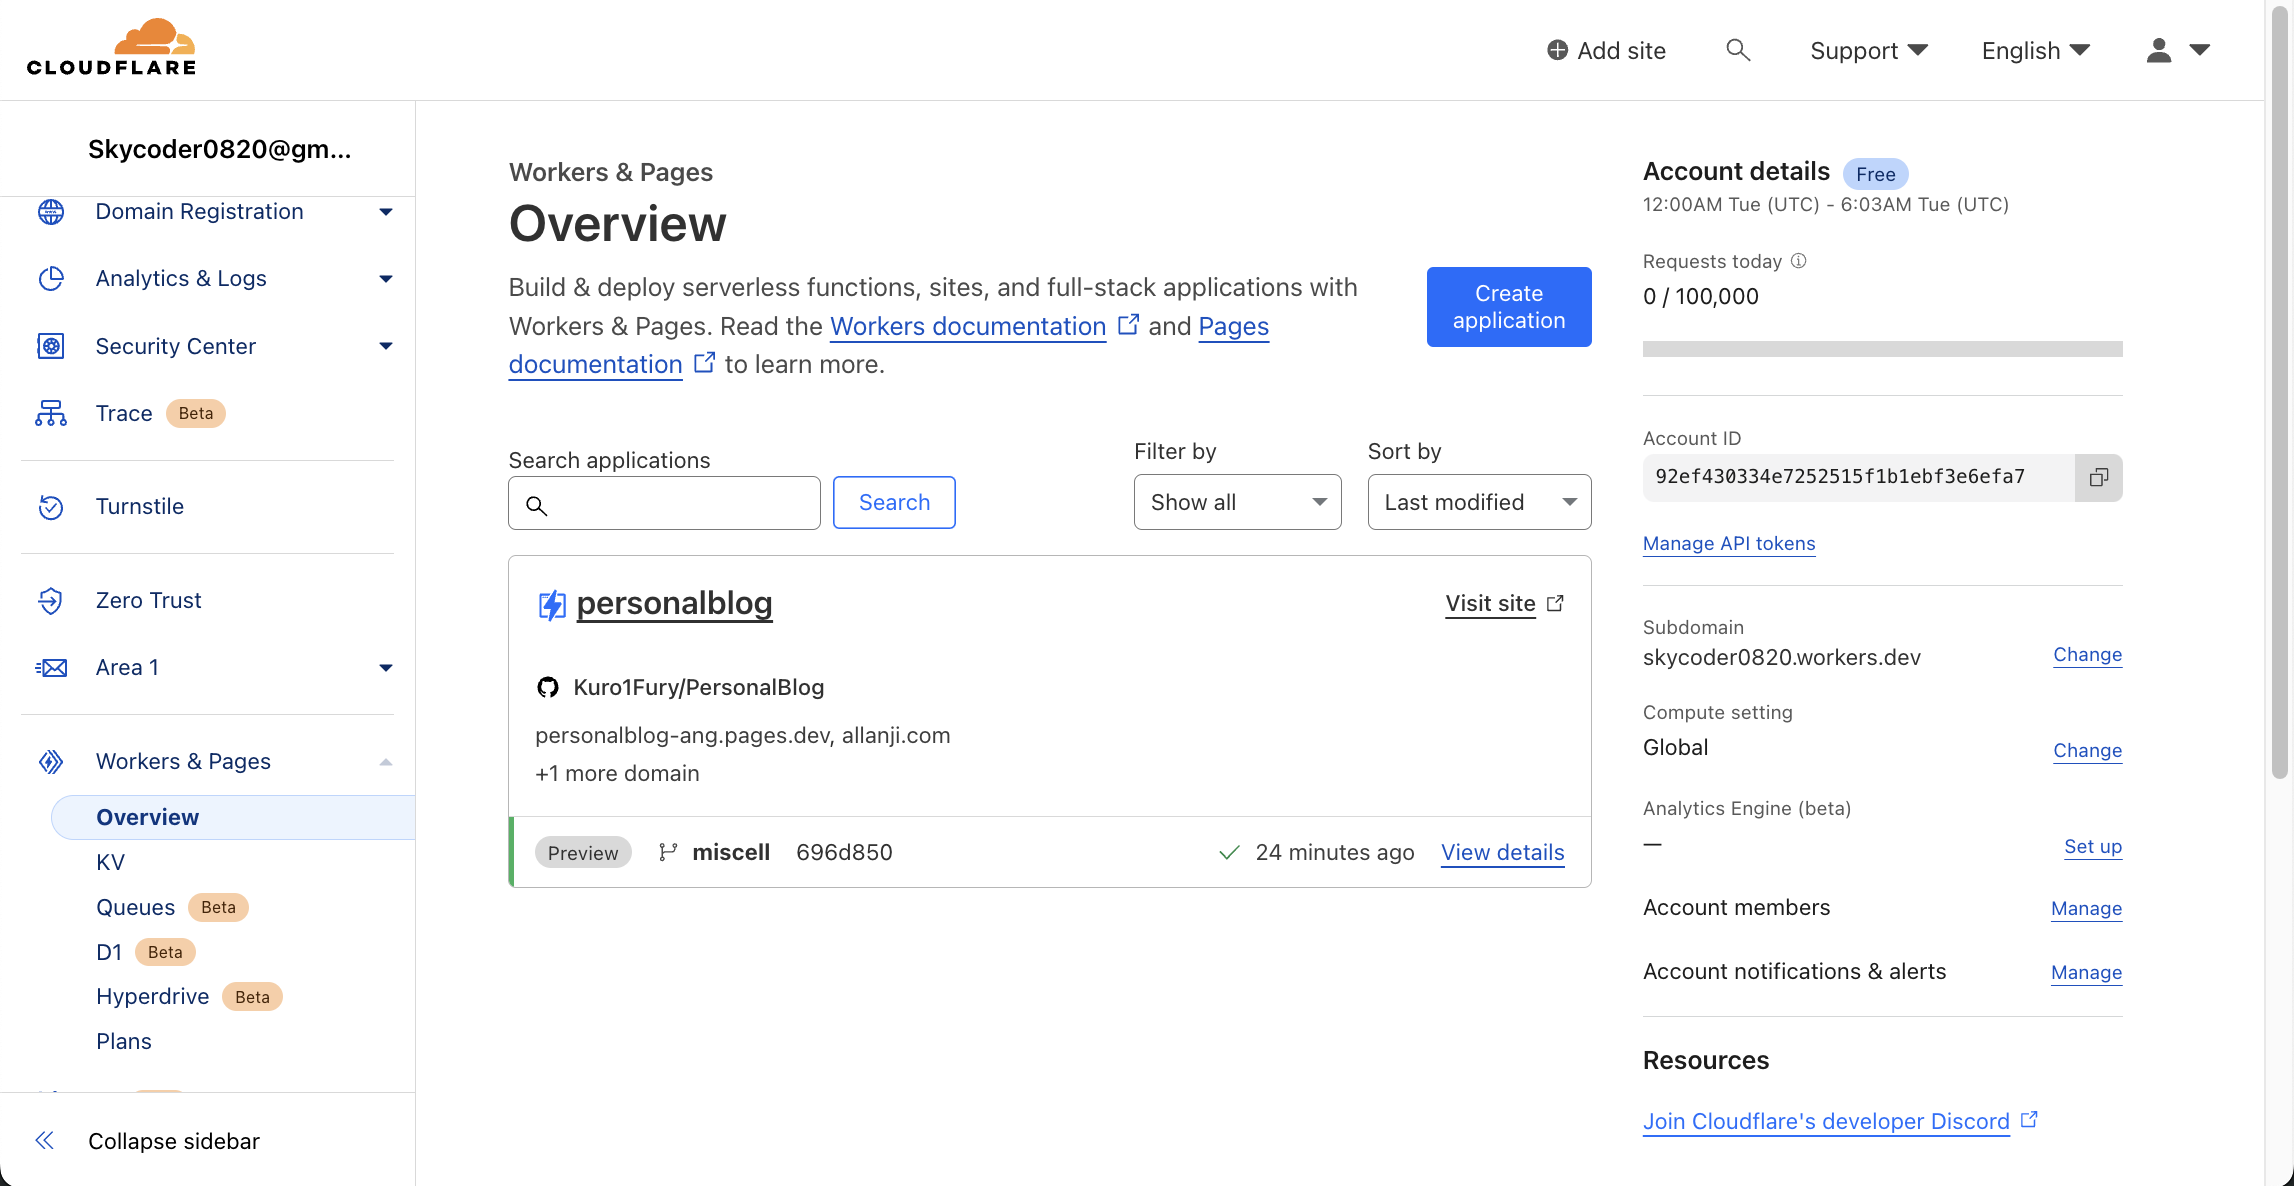
Cloudflare
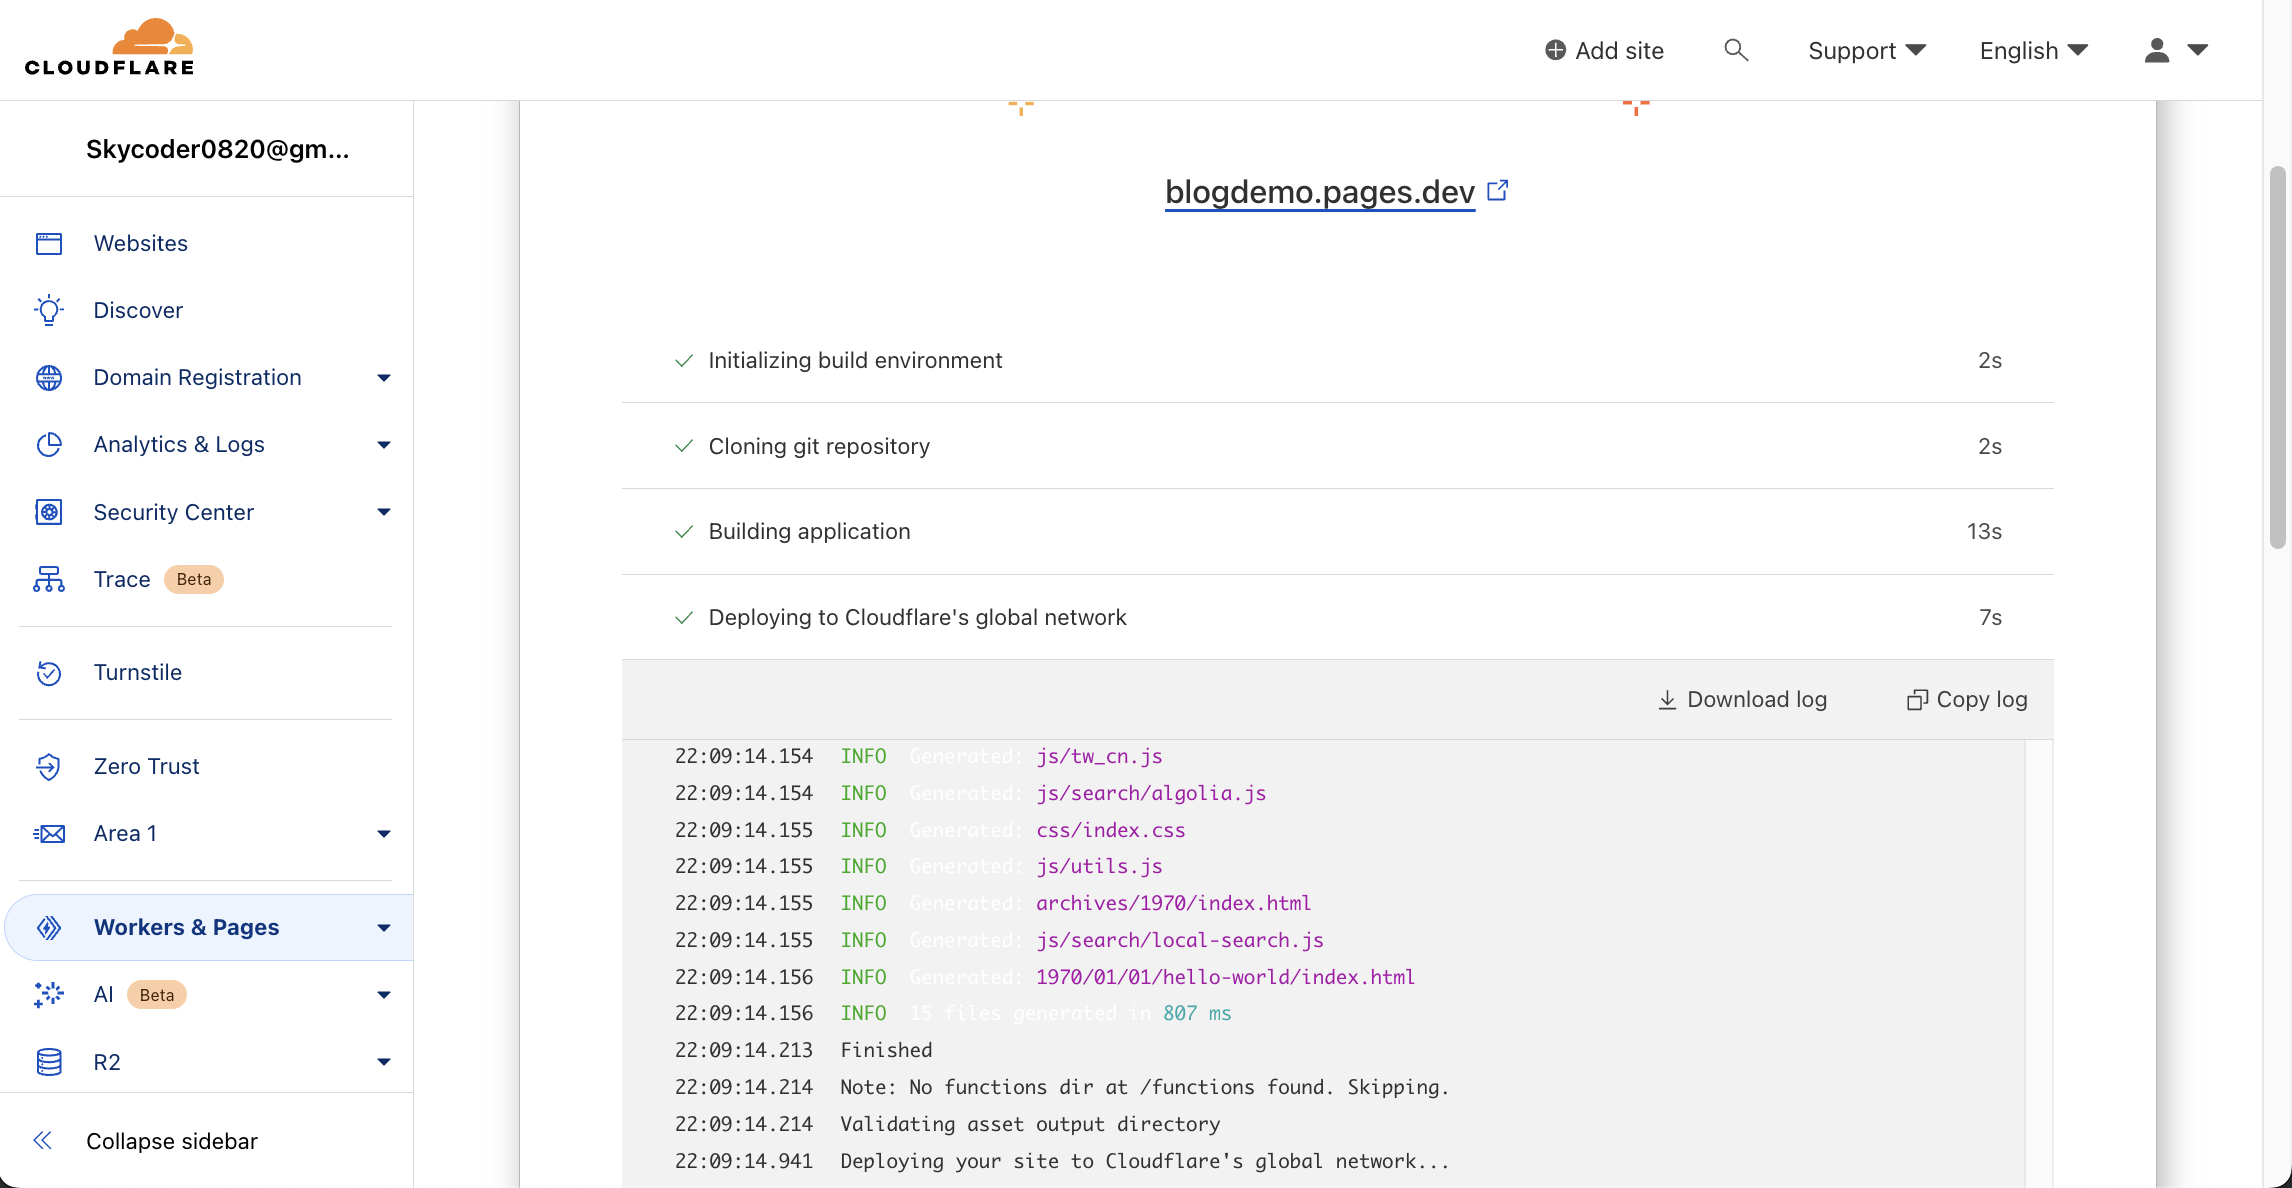
After login to the cloudflare website, direct into Workers & Pages and click Create application
Then go to the Pages tab and click Connect to Git
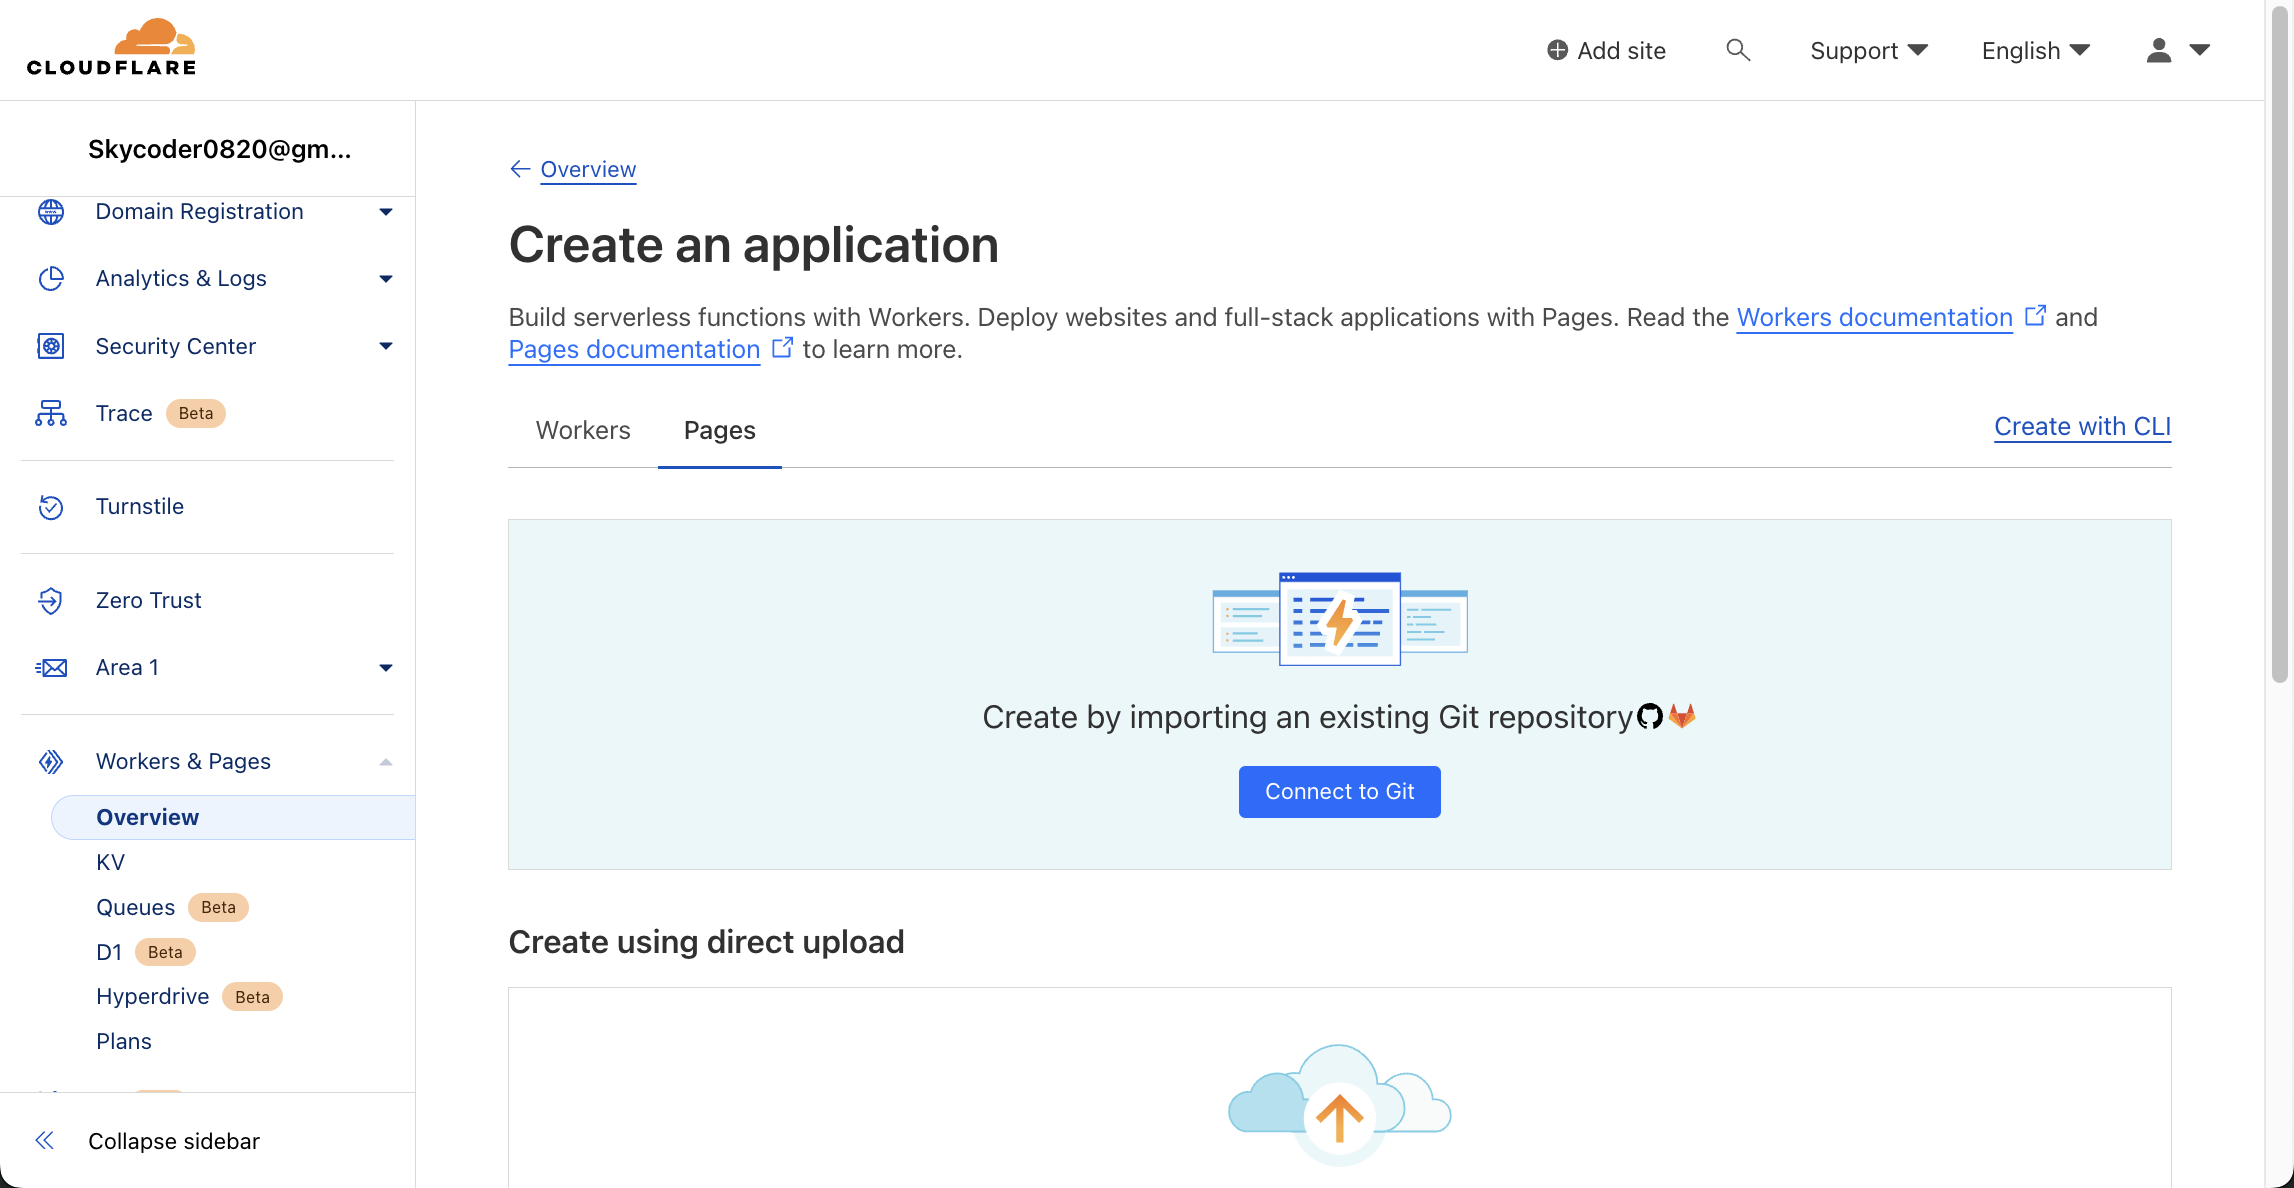
Next, select the repo. In this case, the name of my repo is BlogDemo. Then go to the next page

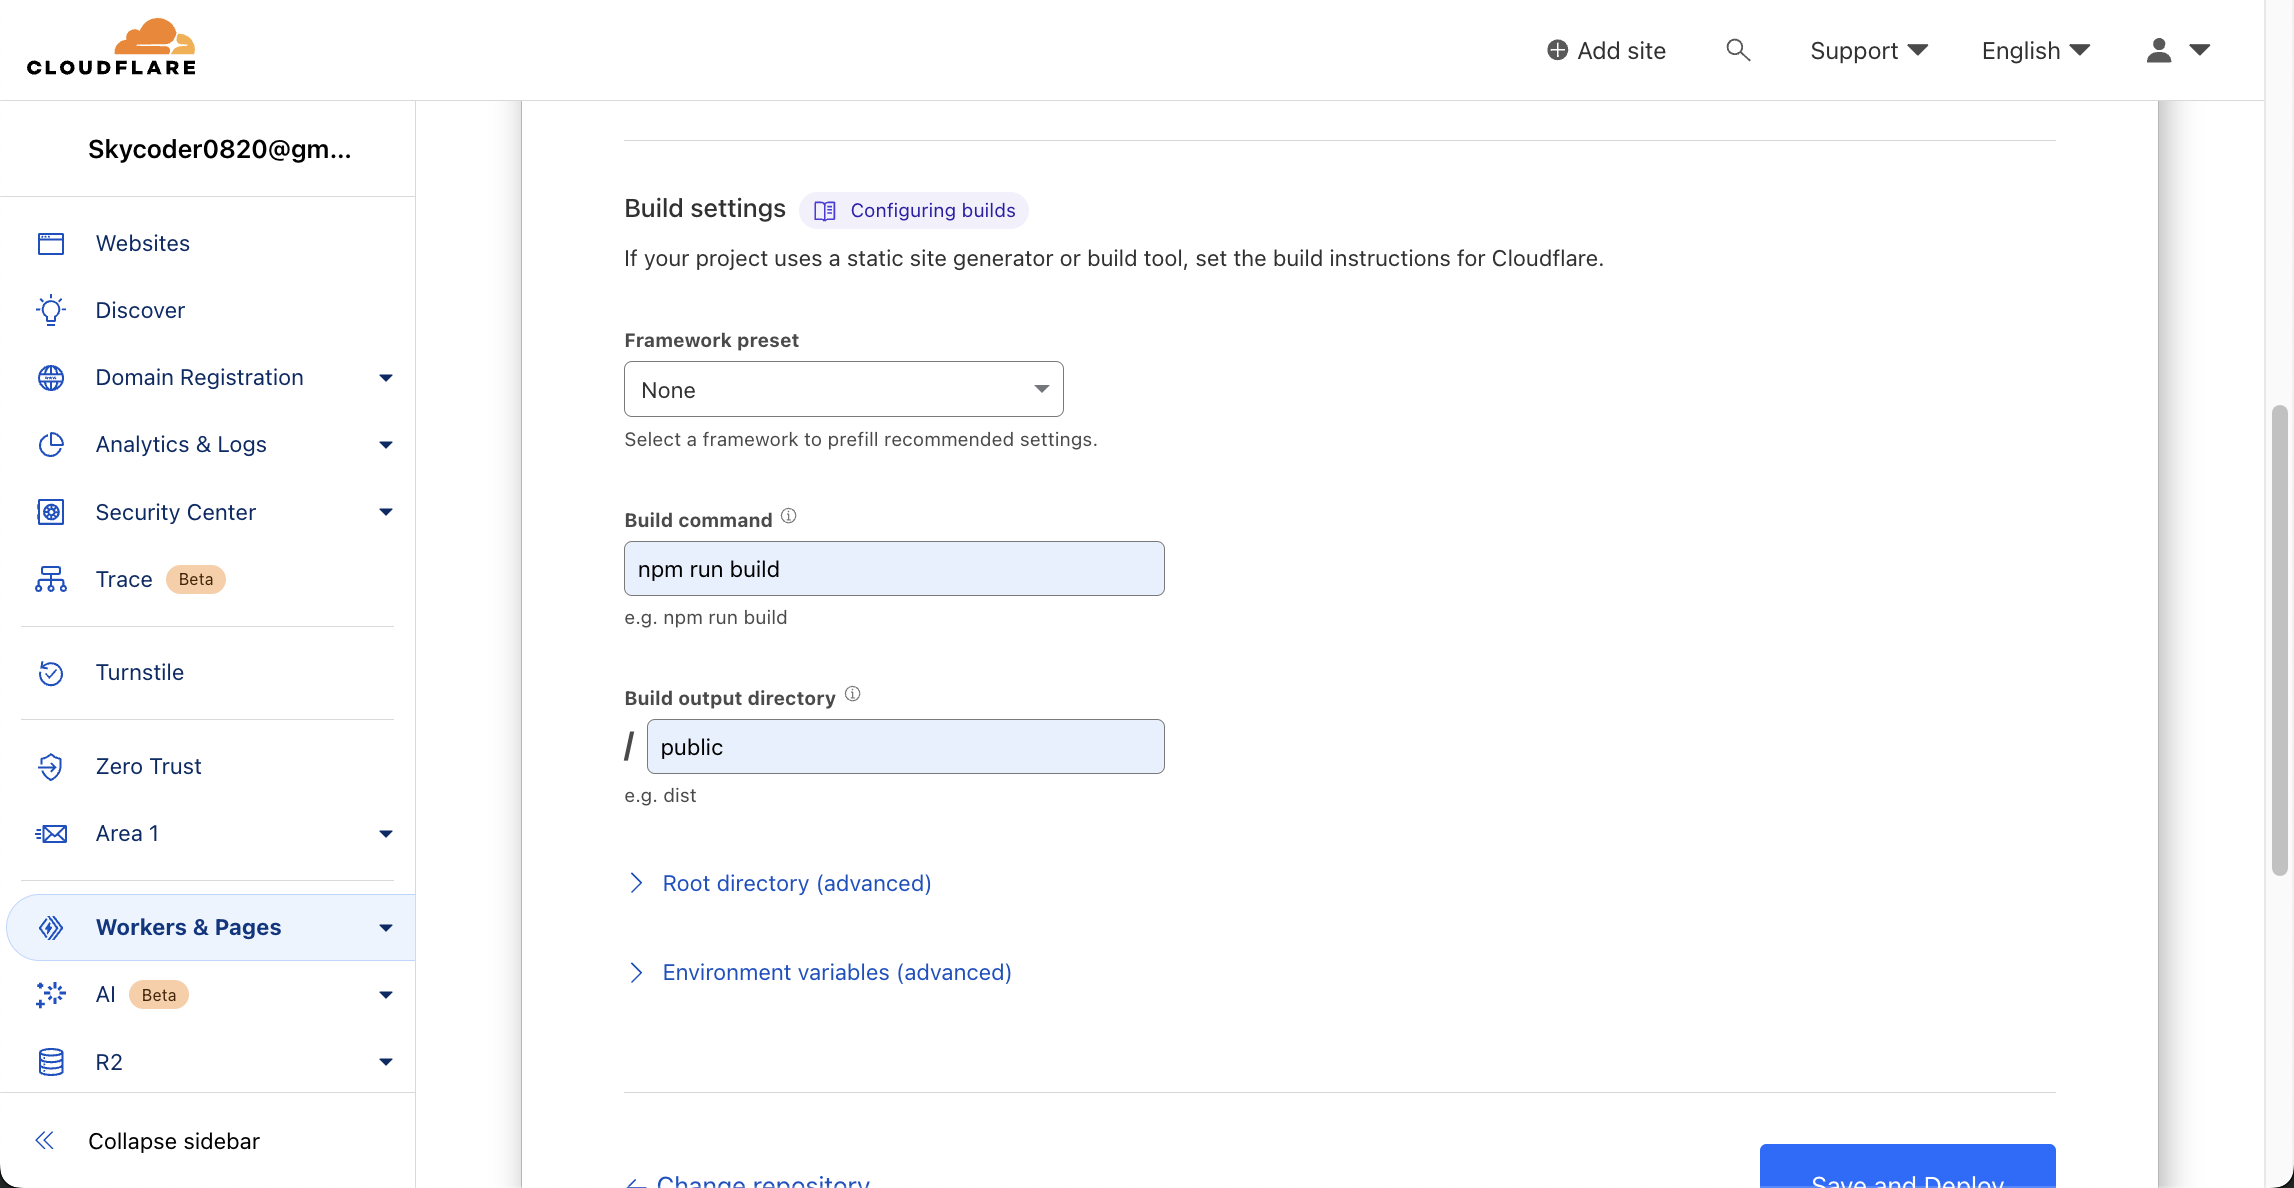
Under the BuildSetting, let Build command be
1 | npm run build |
and Build output directory be
1 | /public |
Finally, click finish. Wait for a few seconds, you can see the website is successfully deployed. Congrats!
On Cloudflare, you can also register your own domain and deploy the website on that specific address.
Conclusion
Till now, you succesfully deploy your own blog website!
If you want to write posts or adjust some settings, please refer to the butterfly document, which has a complete walkthrough what you can do with the Butterfly theme.
Thanks for watching my very first blog! If you have any questions or comments, please feel free to leave the comment or contact me with any platform. See you in the next blog!
Reference
Thanks for Jason’s guide on blog building. This article is based on Jason’s guide, but added more about git submodule and cloudflare deployment.